
What You’ll Learn
- Installing the add-on and WP Time Capsule plugin
- Connecting your WP Time Capsule account
- Creating manual and scheduled backups
- Restoring sites to specific restore points
- Creating staging sites
- Dropbox
- Amazon S3
- Google Drive
Install and Set the MainWP Time Capsule Extension
Installation of the MainWP Time Capsule Extension requires two important steps:- Installing the Extension itself on your MainWP Dashboard site
- Installing the WP Time Capsule plugin on Child Sites
Installing the Extension
The MainWP Time Capsule Extension needs to be installed only on your MainWP Dashboard site. You can install it as any other MainWP add-on.Installing the Plugin
For the proper use of the MainWP Time Capsule Extension, you need to install the WP Time Capsule Plugin on your child sites.Install from MainWP Dashboard
Login to your MainWP Dashboard
Go to the MainWP > Sites > Plugins > Install Plugins page
In the Search field, enter the plugin name (WP Time Capsule)
Press enter on your keyboard
After the search results appear, locate the plugin
Select the Install this Plugin option
Select your child sites
In the Installation Options box, make sure that the Activate after installation option is selected.
Click the Button to complete the installation.
Once the Installation is complete, Sync your MainWP Dashboard
Install directly on Child Site
Login to your child site
Go to the WP > Plugins > Add New page
In the Search field, enter the plugin name (WP Time Capsule)
After the search results appear, locate the plugin
Click the Install button
Click the Activate button
Get Started with the Time Capsule
After the successful installation of the MainWP Time Capsule Extension on your dashboard and the WP Time Capsule plugin on your child site, you are ready to connect your WP Time Capsule account. To do that,Login to your MainWP Dashboard
Go to the MainWP > Sites > Backups > Time Capsule > General page
Enter your WP Time Capsule email and password and click the Login button
Go to your child site
Open the WP Time Capsule page
Complete the cloud storage connection flow
Backup Your Child Sites
The Time Capsule system will allow you to backup your sites on demand and to set automated backups.Manual Backup
To manually backup all your sites,Login to your MainWP Dashboard
Go to the MainWP > Sites > Backups > Time Capsule > Backup Settings page
Click the Backup Now button
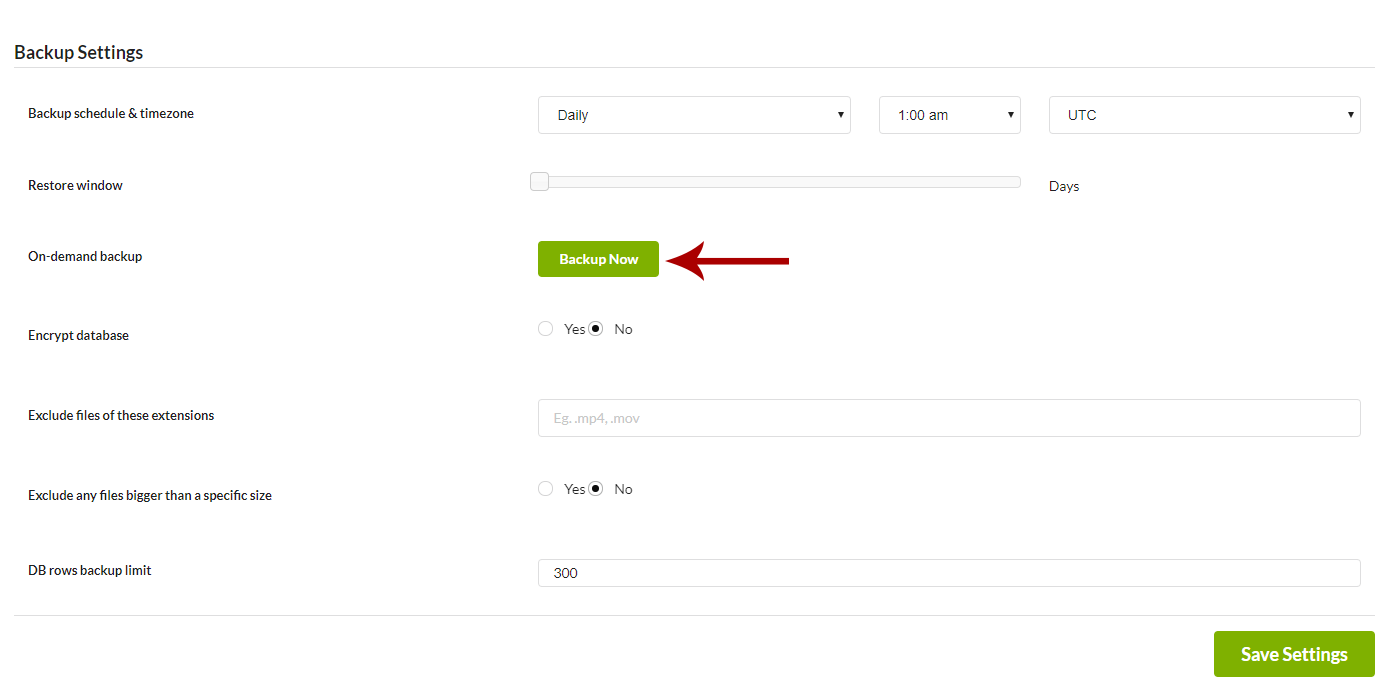
Go to your MainWP Dashboard
Go to the MainWP > Sites > Manage Sites page
Locate the site you want to backup
Click the Edit link in the Title column
Go to the WP Time Capsule > Backups tab
Click the Backup Now button
Schedule Backups
To schedule backups,Login to your MainWP Dashboard
Go to the MainWP > Sites > Backups > Time Capsule > Backup Settings page
Locate the Backup schedule & timezone option
Set your preferences
Restore a Site To a Restore Point
To restore your child site to a restore point,Login to your Dashboard
Go to the MainWP > Sites > Manage Sites page
Locate the site that you want to restore and click the Edit action link
Go to the WP Time Capsule > Backups tab
Locate the Restore Point that you want to restore your site to and click on it
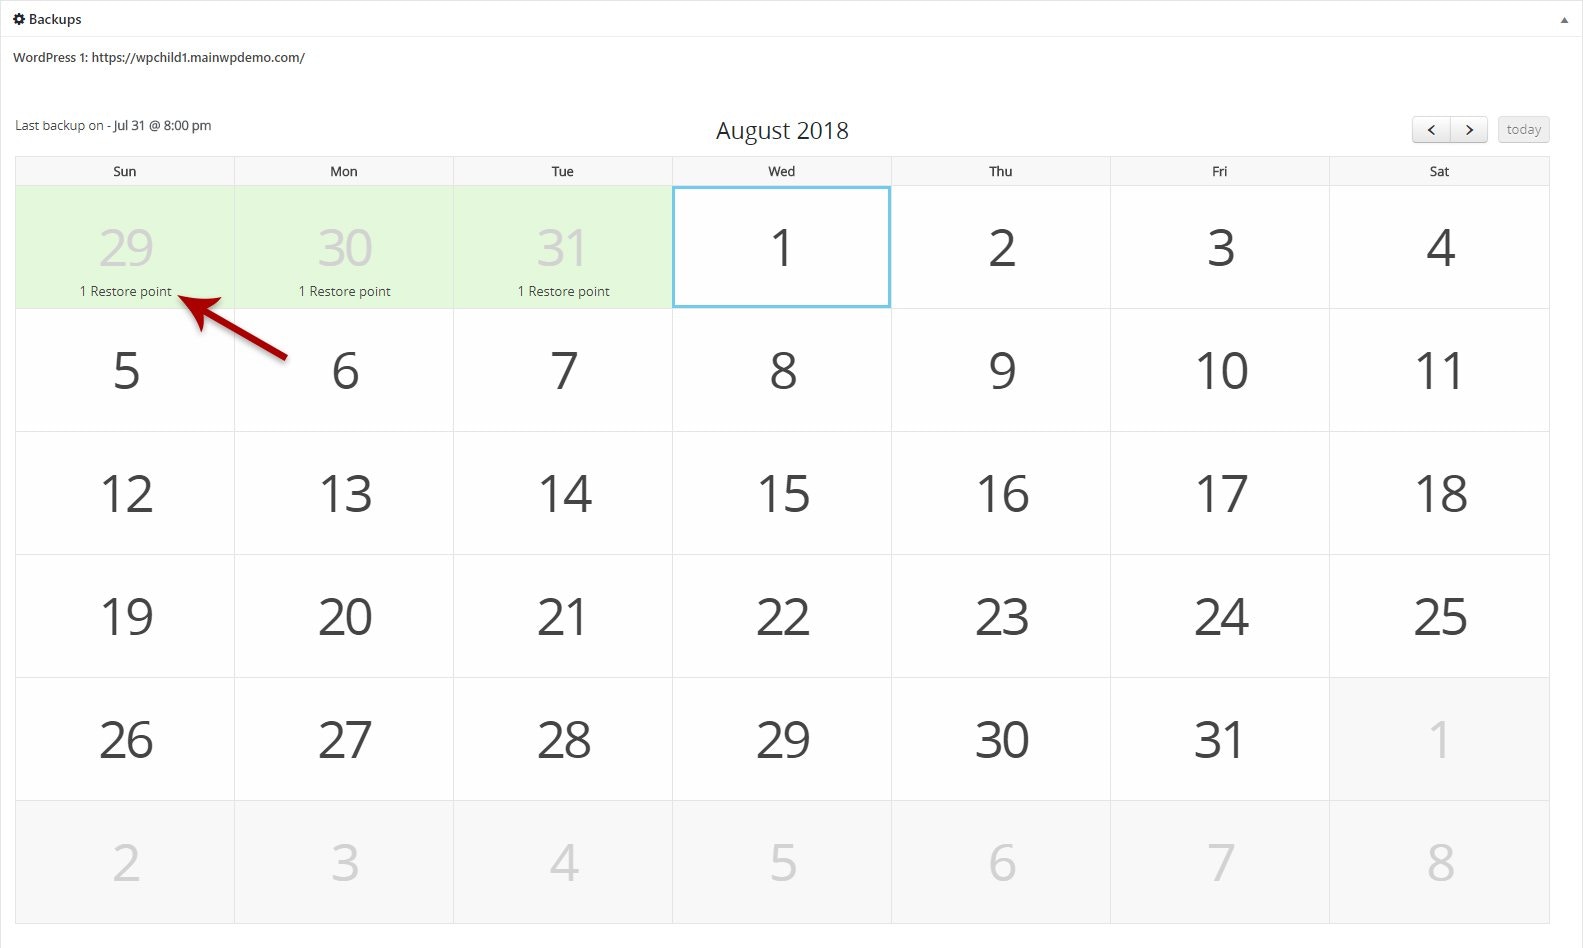
Choose your restore preferences and click the Restore The Site to This Point button

Create Staging Site With the Time Capsule
The Time Capsule system provides the ability to create staging sites. To create a staging site,Login to your Dashboard
Go to the MainWP > Sites > Manage Sites page
Locate the site that you want to stage and click the Edit action link
Go to the WP Time Capsule > Staging tab
Locate the Staging Path option and set your preferred path
Click the Start Staging button
Related Resources
- Backup Add-ons - Browse all backup integrations
- Manage Backups - Understanding backup management in MainWP
- WP Time Capsule Documentation - Official plugin documentation