What You’ll Learn
- How to enable 2FA on your MainWP.com account
- How to manage 2FA settings
- How to reset your account password
Enable Two-Factor Authentication
Log in to MainWP.com
Log in to your account at mainwp.com/my-account. You’ll see a notice prompting 2FA configuration.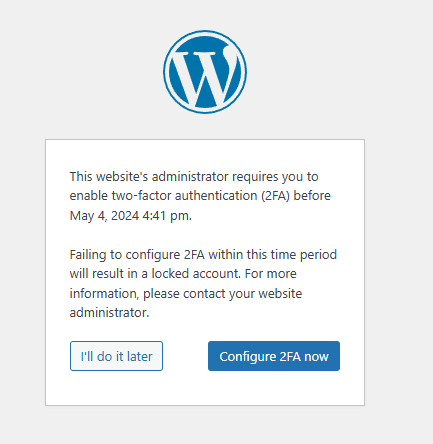
Choose your method
Click Configure 2FA, then Next Step. Choose your verification method:
- One-time code via 2FA app (authenticator app)
-
One-time code via email
Set up authenticator app
If using an authenticator app, scan the QR code or enter the code manually into your app (Google Authenticator, Authy, 1Password, etc.).
Verify the code
Once your authenticator app displays a six-digit code, click I’M READY. Enter the code and click Validate & Save.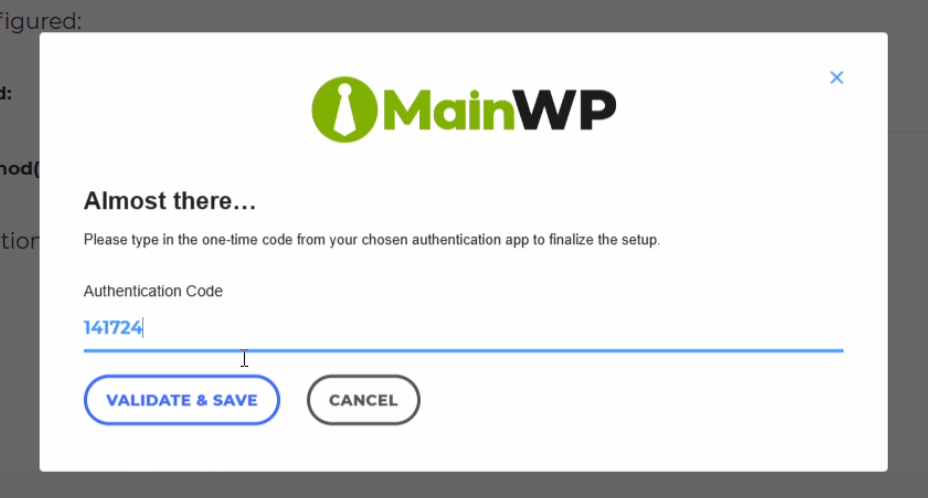
Manage 2FA Settings
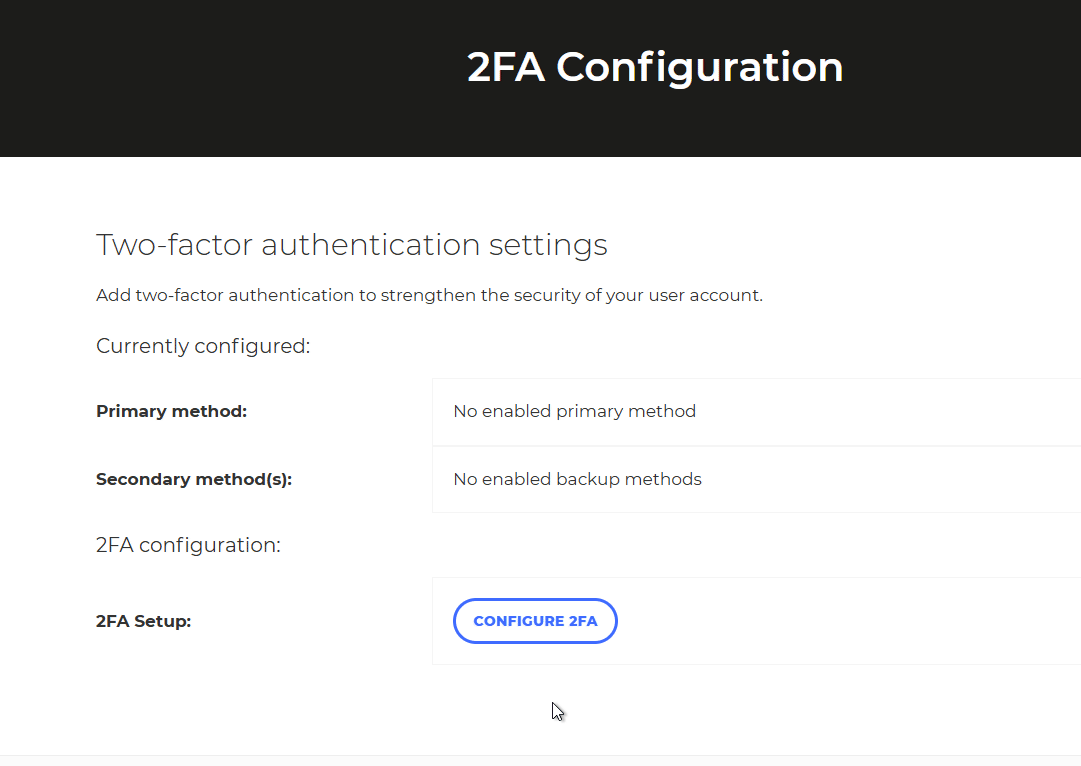
After enabling 2FA, you can manage your settings:Access 2FA settings
Log in to mainwp.com/my-account and navigate to 2FA Settings.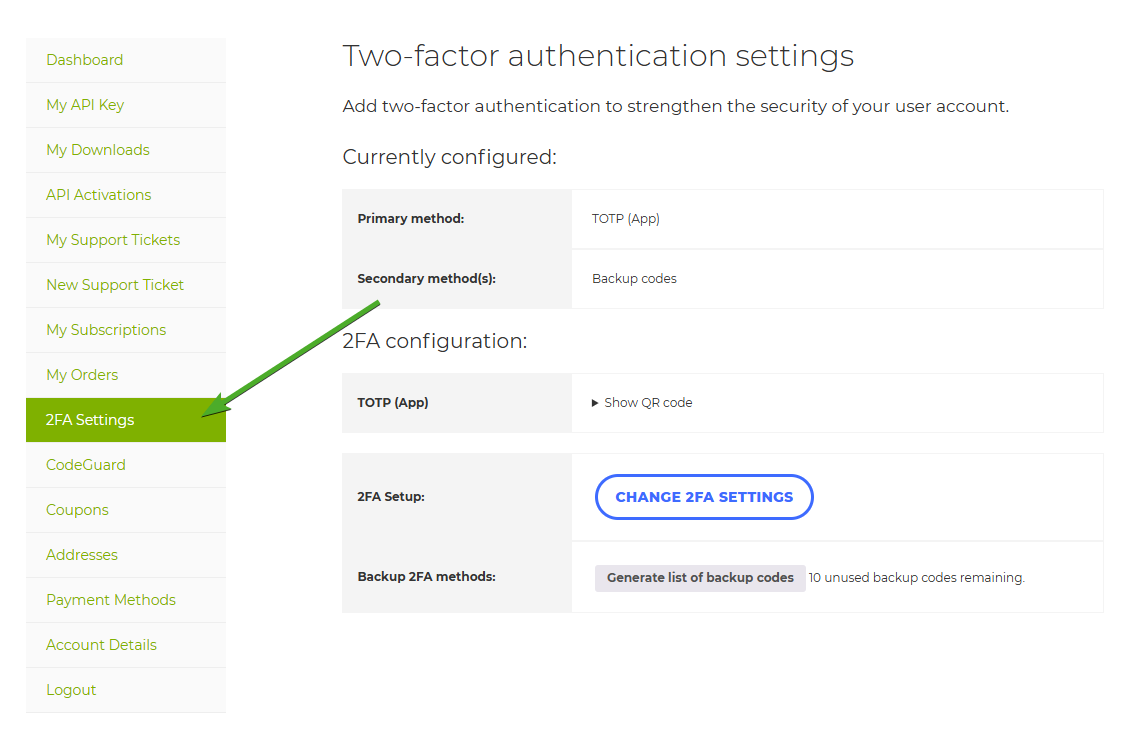
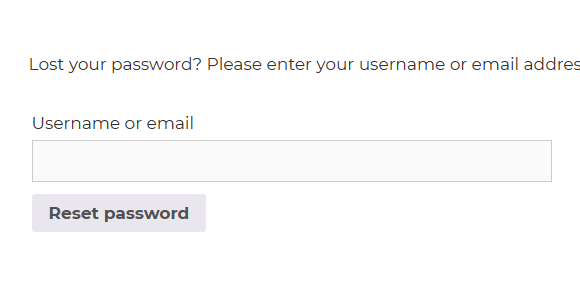
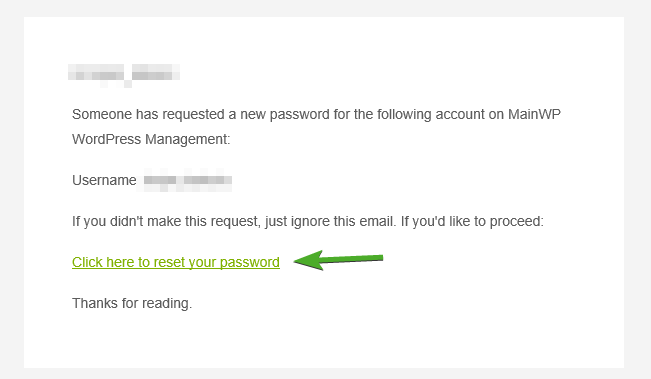
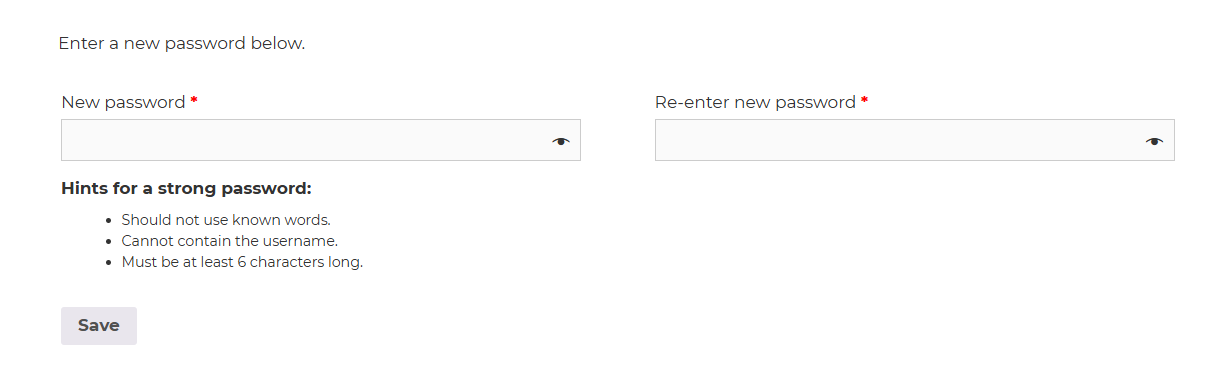
Reset Your Password
Go to password reset page
Navigate to mainwp.com/my-account/lost-password.
Self-Check Checklist
- 2FA enabled on MainWP.com account
- Authenticator app configured (if using app-based 2FA)
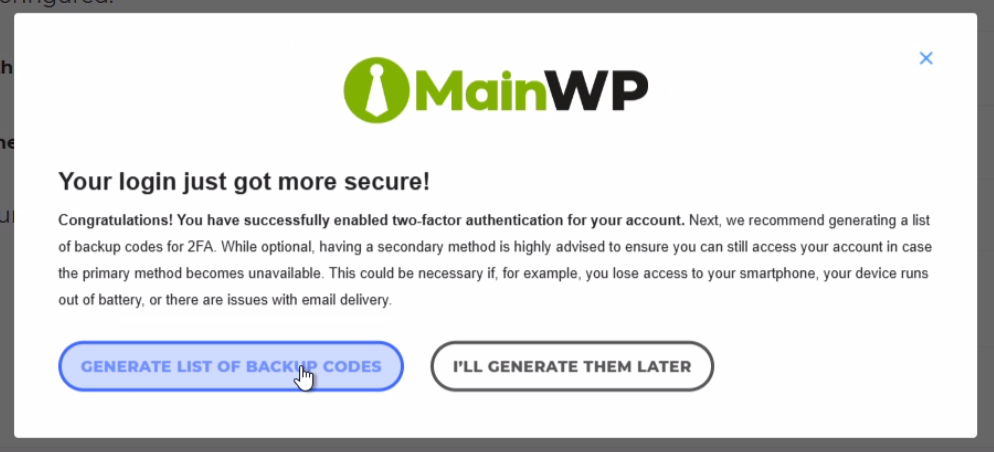
- Backup codes generated and stored securely
- Successfully logged in with 2FA verification
Related Resources
- Two-Factor Authentication for MainWP Dashboard - 2FA for your WordPress Dashboard
- MainWP Security - Overall security practices