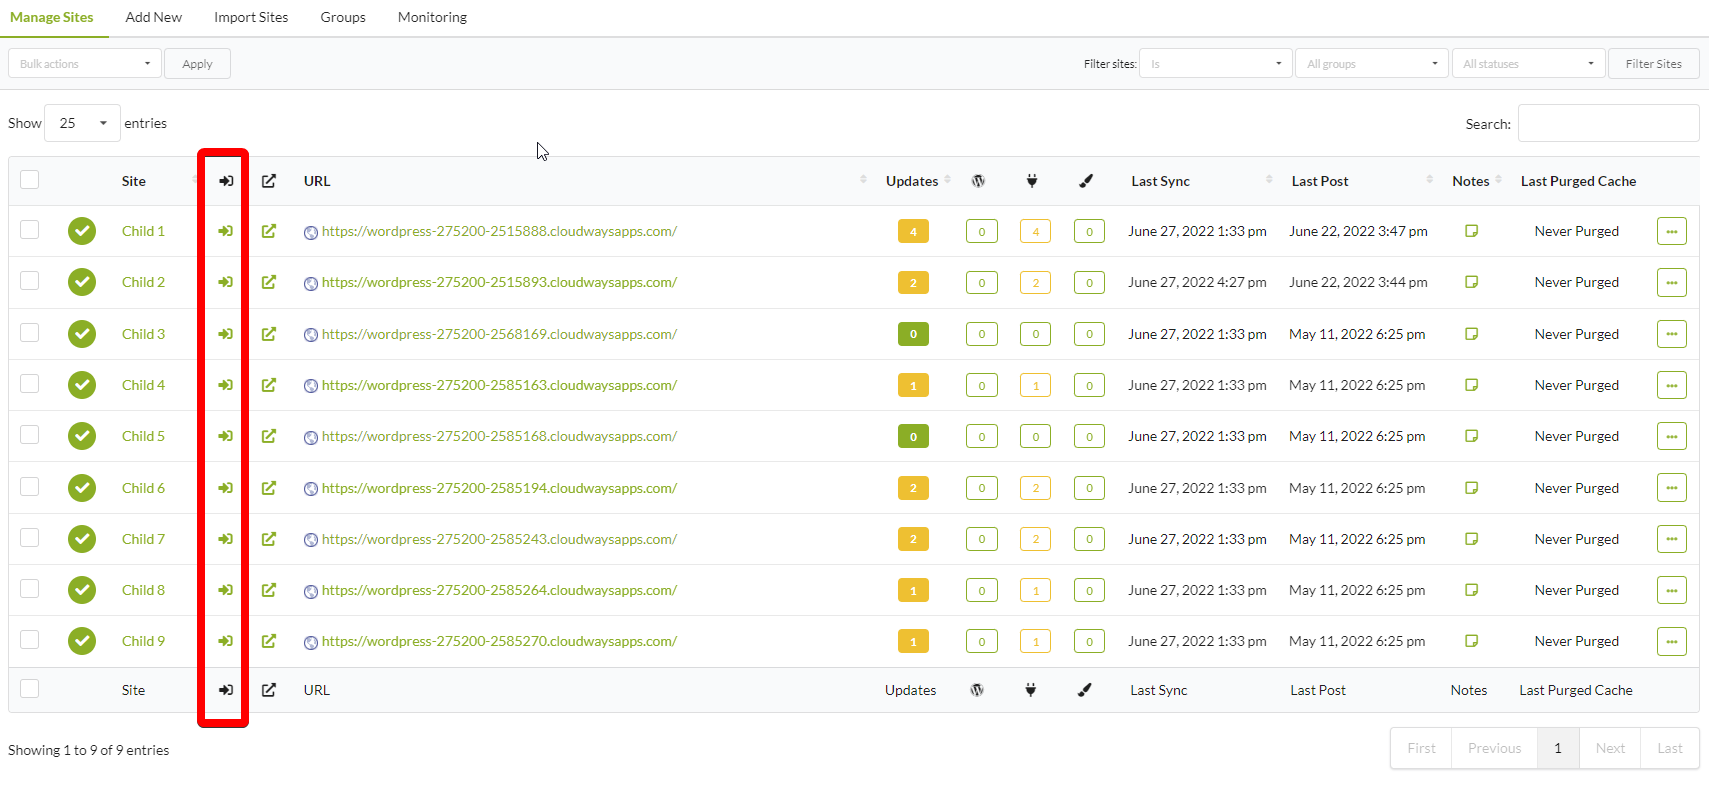
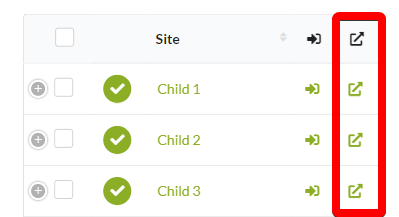
Add a “Go to site” icon column to the Manage Sites table for quick access to child site front pages. This icon takes less space than displaying the full URL and works well on mobile devices.
What You’ll Learn
- How to add a site link icon to the Manage Sites table
- How to position the column for mobile visibility
Prerequisites
- Custom Dashboard extension (free)
Add the Go to Site Icon
Install Custom Dashboard
Install the Custom Dashboard extension.
Position the Column
Why Use This
| Benefit | Description |
|---|---|
| Saves space | Icon takes less width than displaying the full URL |
| Mobile-friendly | Visible without expanding the row on mobile |
| Quick access | One click opens the site in a new tab |
| Clean interface | Reduces table clutter |
Self-Check Checklist
- Custom Dashboard extension installed
- PHP code added and saved
- New column visible in Manage Sites table
- Column positioned as desired
- Icon opens site in new tab when clicked
Related Resources
- Create a New Column in Manage Sites - Add custom columns
- MainWP User Interface - Table customization overview
- Custom Dashboard Extension - Extension documentation