What You Will Accomplish
- Deploy a new Cloudways server with WordPress and MainWP Dashboard pre-installed
- Access your MainWP Dashboard and complete the Quick Setup Wizard
- Have a working MainWP Dashboard ready to connect child sites
Prerequisites
- A Cloudways account (new or existing)
- Payment method for Cloudways hosting
- No domain name required (Cloudways provides a temporary URL)
Existing Cloudways users: If you don’t see the WordPress (with MainWP) option in your Applications menu, contact Cloudways support to have it enabled.
Deploy MainWP Dashboard on Cloudways
1
Go to the MainWP Hosting page
Visit the MainWP Hosting page and click Get Started Here.
Sign up through this page to have the WordPress (with MainWP) option enabled by default.
2
Sign up for a Cloudways account
Complete the Cloudways registration process.
3
Log in to your Cloudways account
After registration, log in to your Cloudways dashboard.
4
Go to the Applications section
Navigate to the Applications section.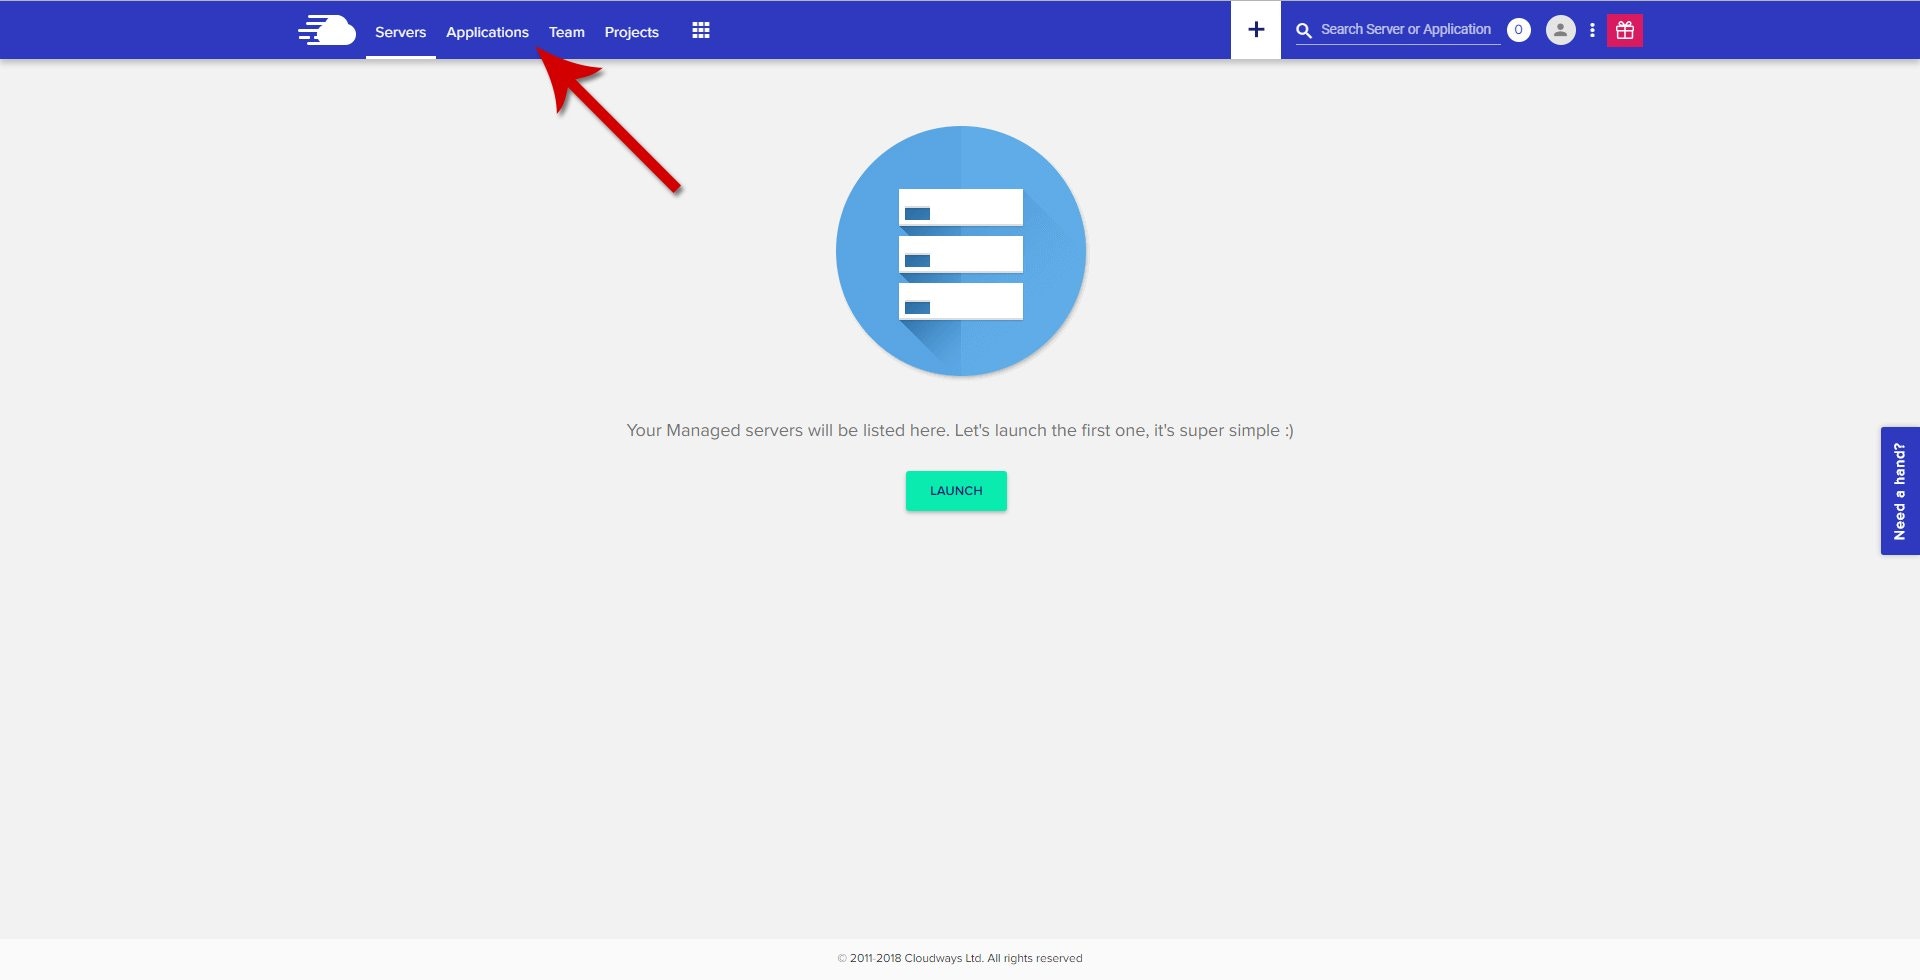
5
Click Launch
Click the Launch button.
6
Select your server provider
On the Application & Server Details page, choose your preferred server provider (e.g., Vultr, DigitalOcean, AWS).
7
Select WordPress (with MainWP)
From the Application dropdown menu, choose WordPress (with MainWP).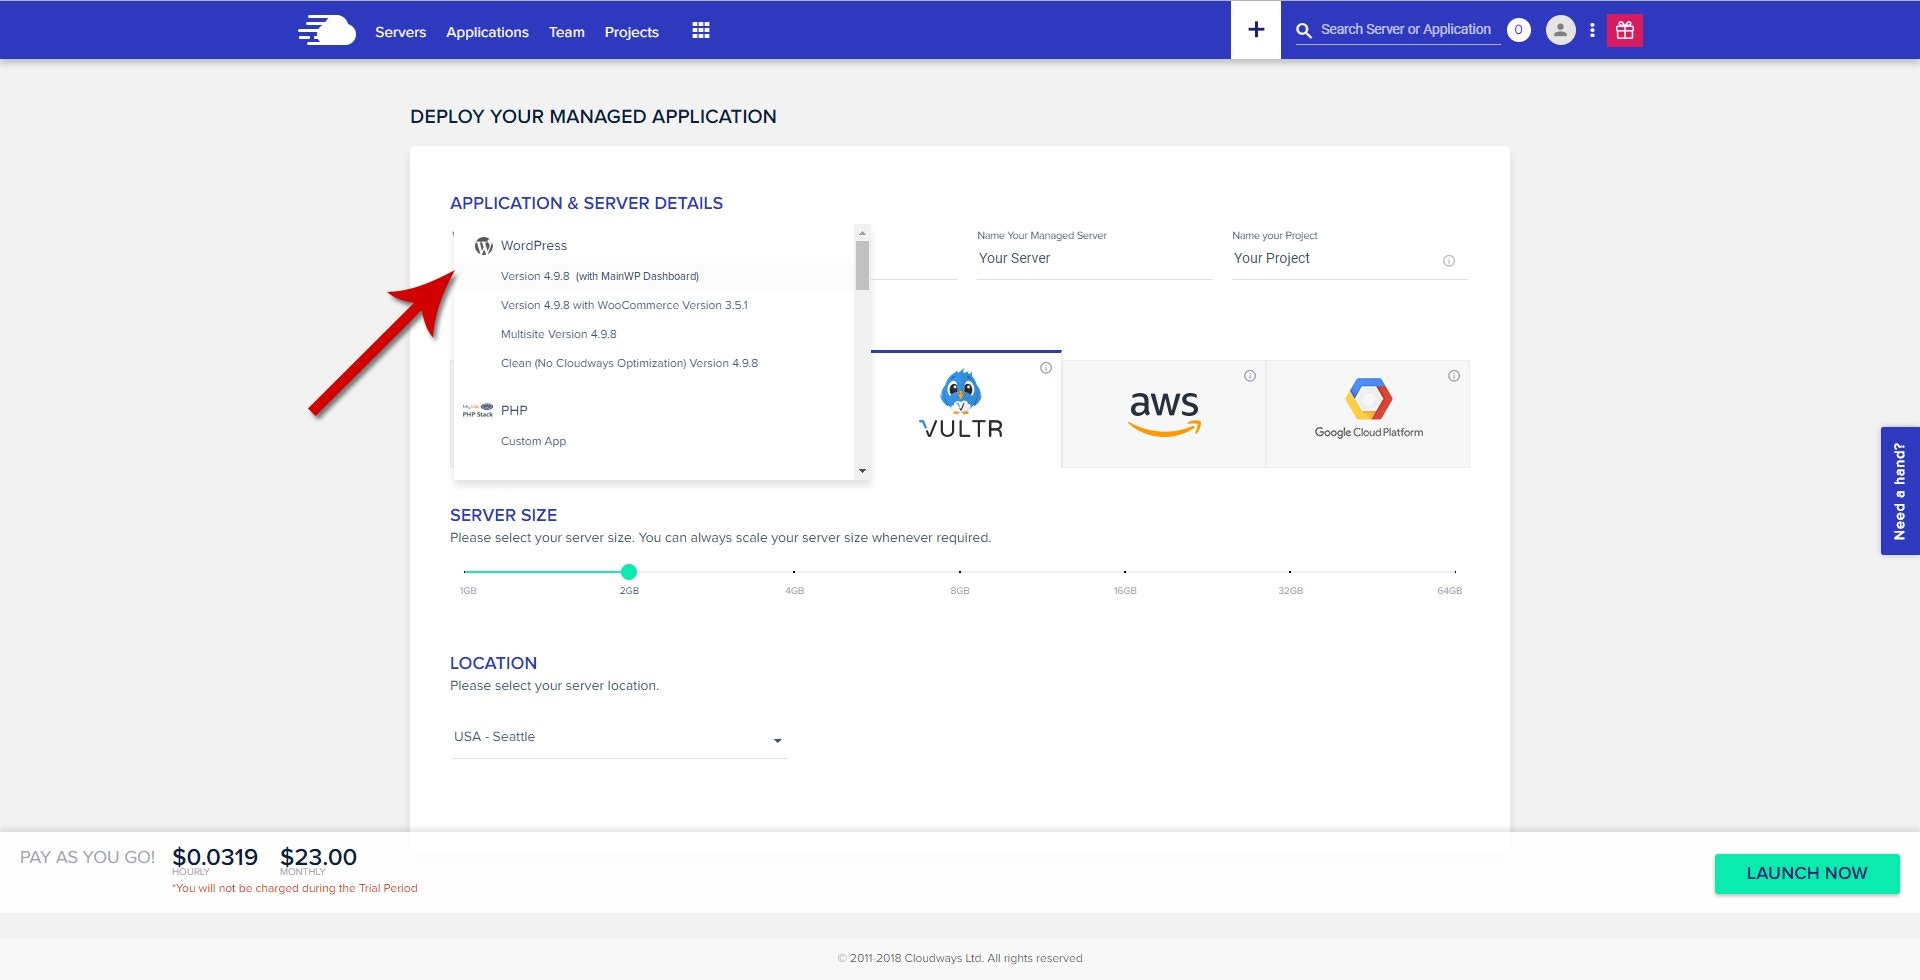
8
Configure and launch
Name your Application, Server, and Project, then click Launch Now.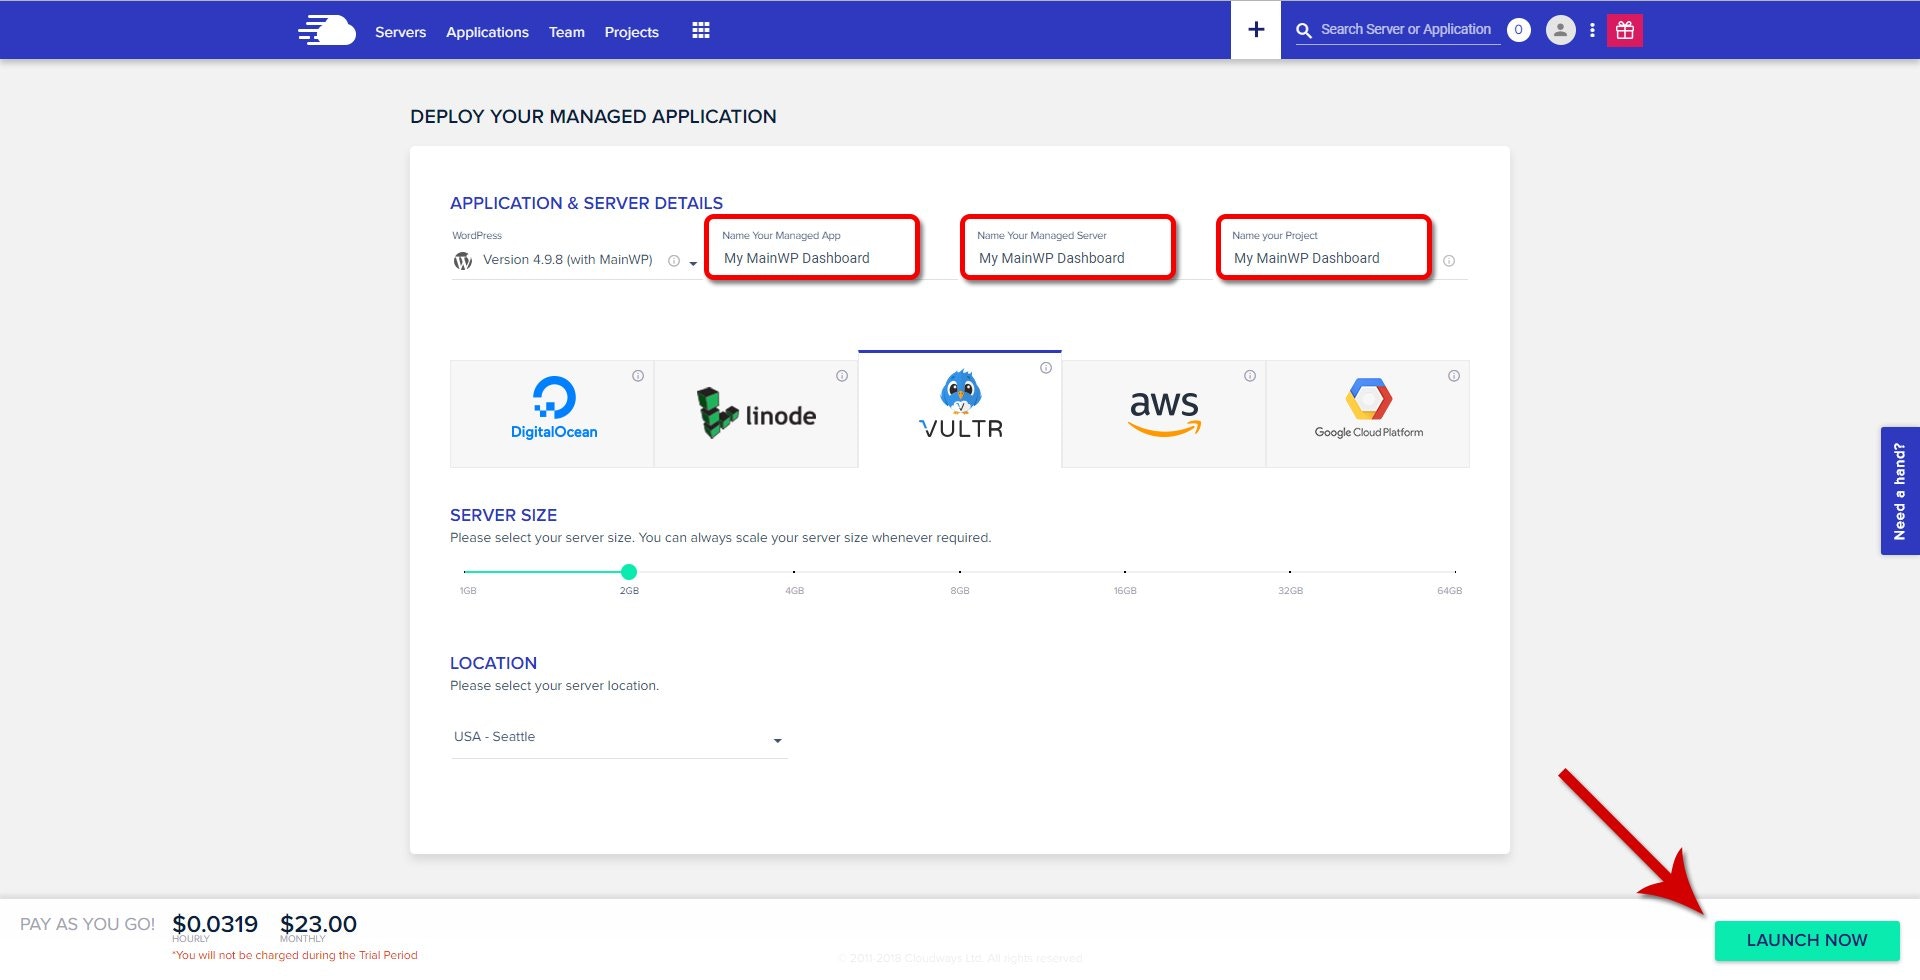
9
Wait for server creation
The server creation process takes a few minutes to complete.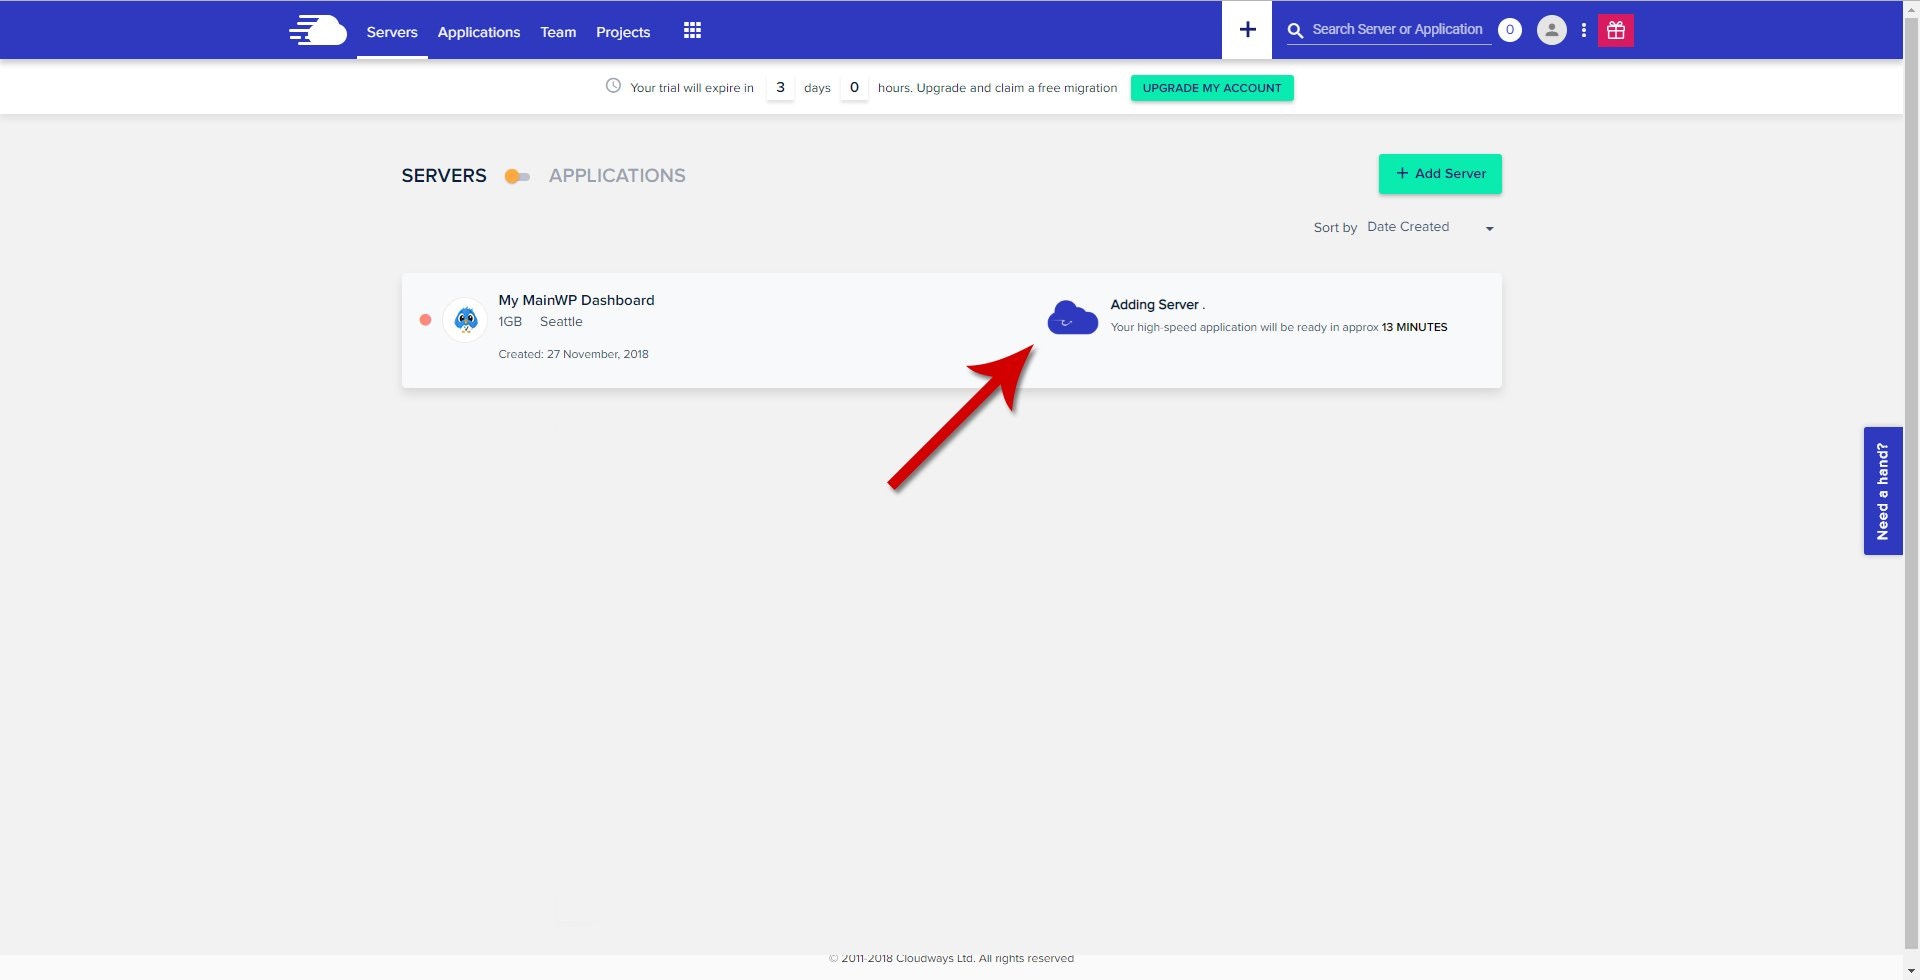
10
Access your application
Click Applications (www) in the top menu.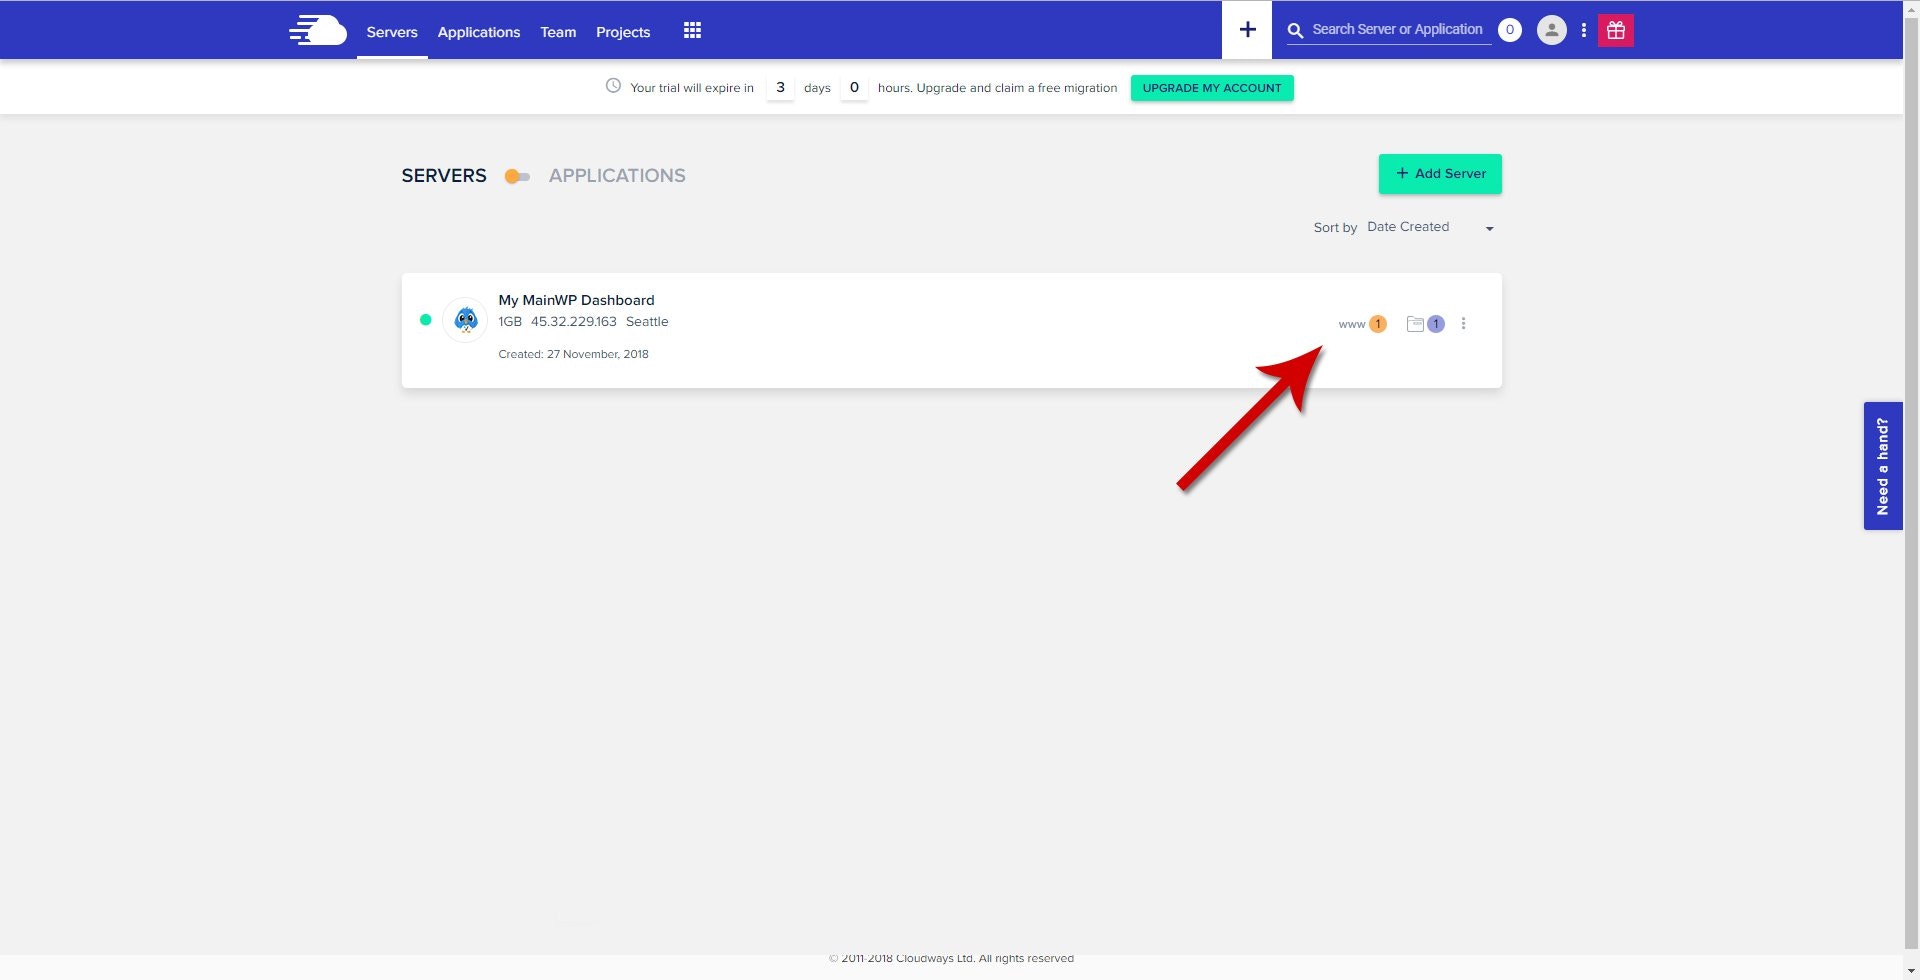
11
Select your MainWP Dashboard application
Click your MainWP Dashboard application from the popup list.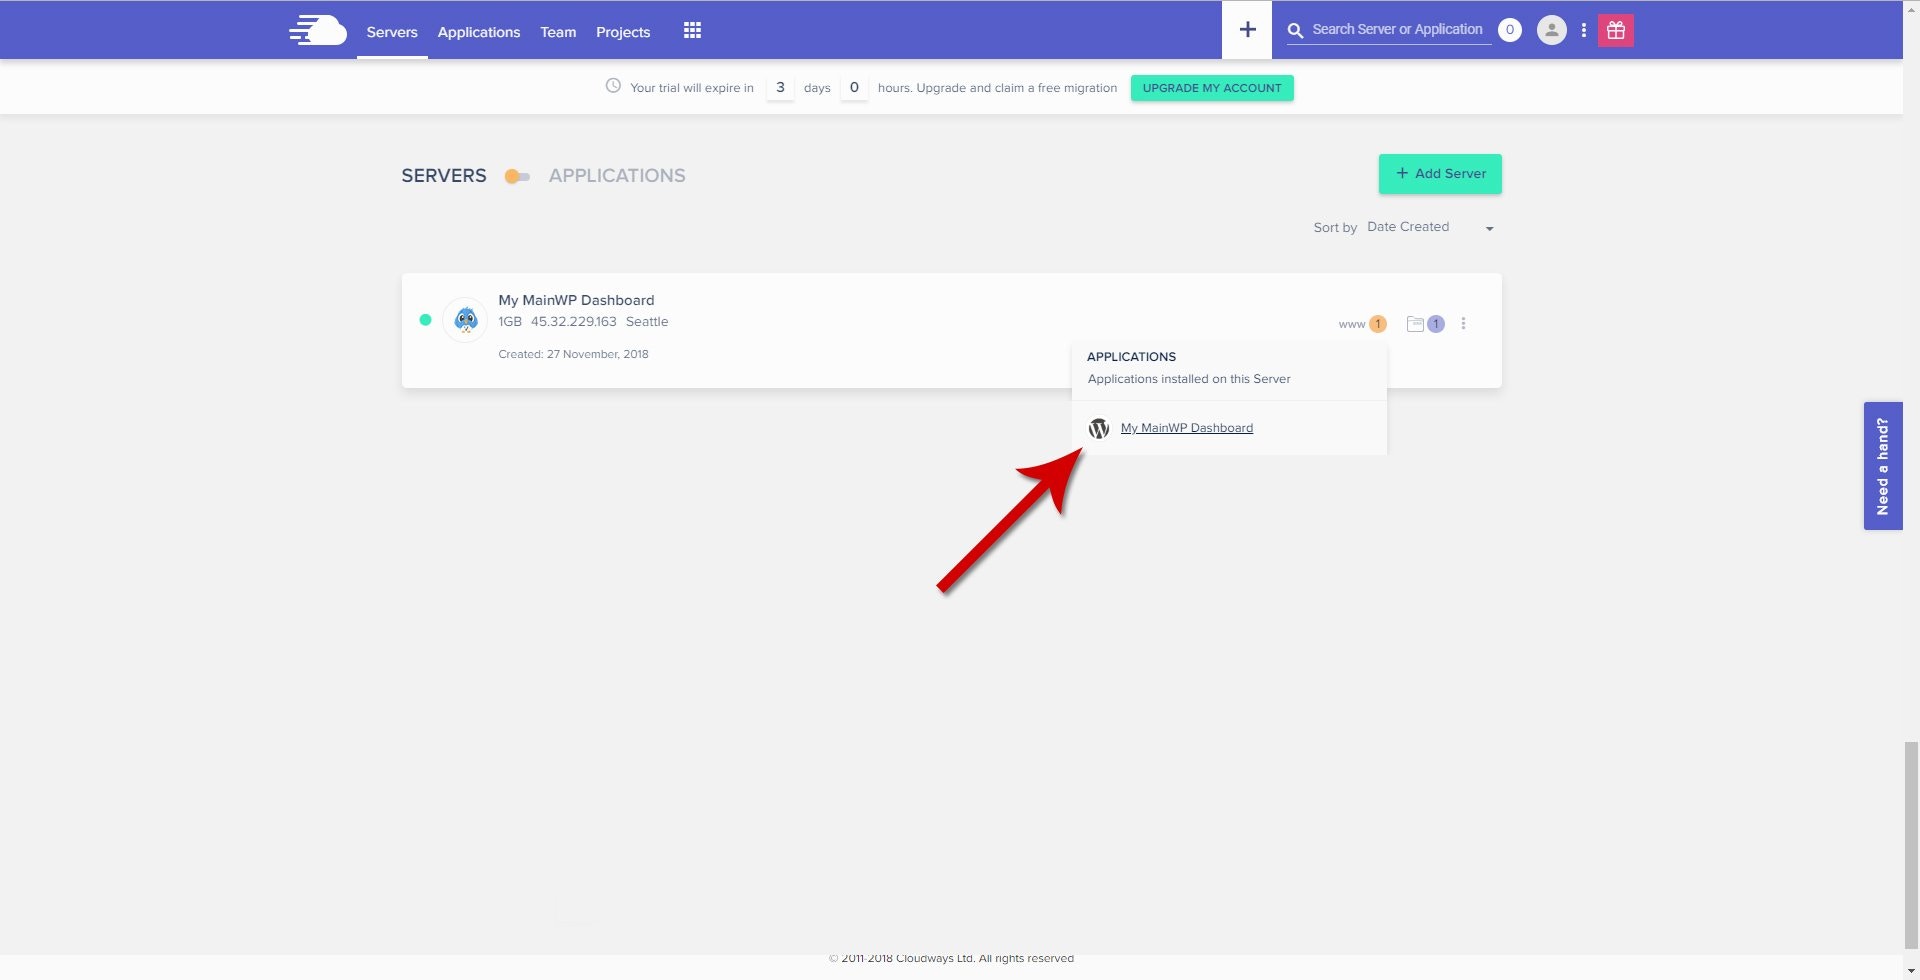
12
Find your login credentials
Locate the Admin Panel section to find your application URL, username, and password.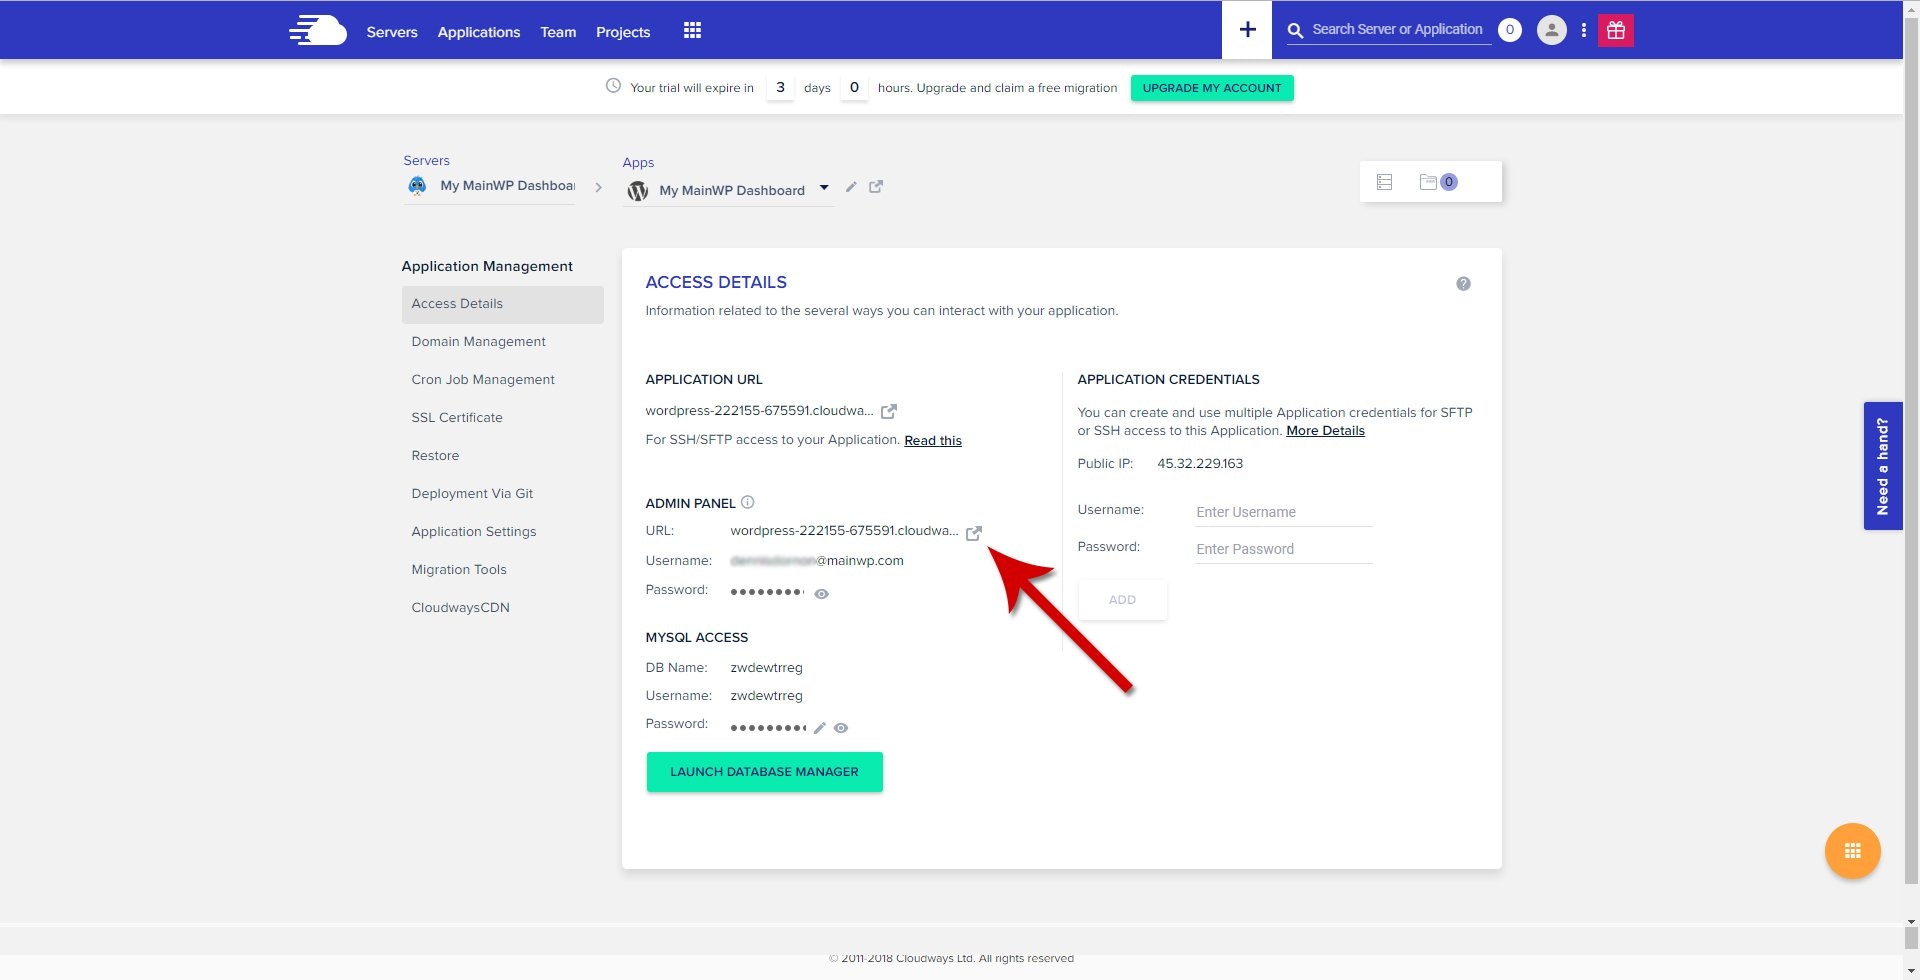
13
Log in to WordPress
Open the Admin Panel URL and log in with the provided credentials.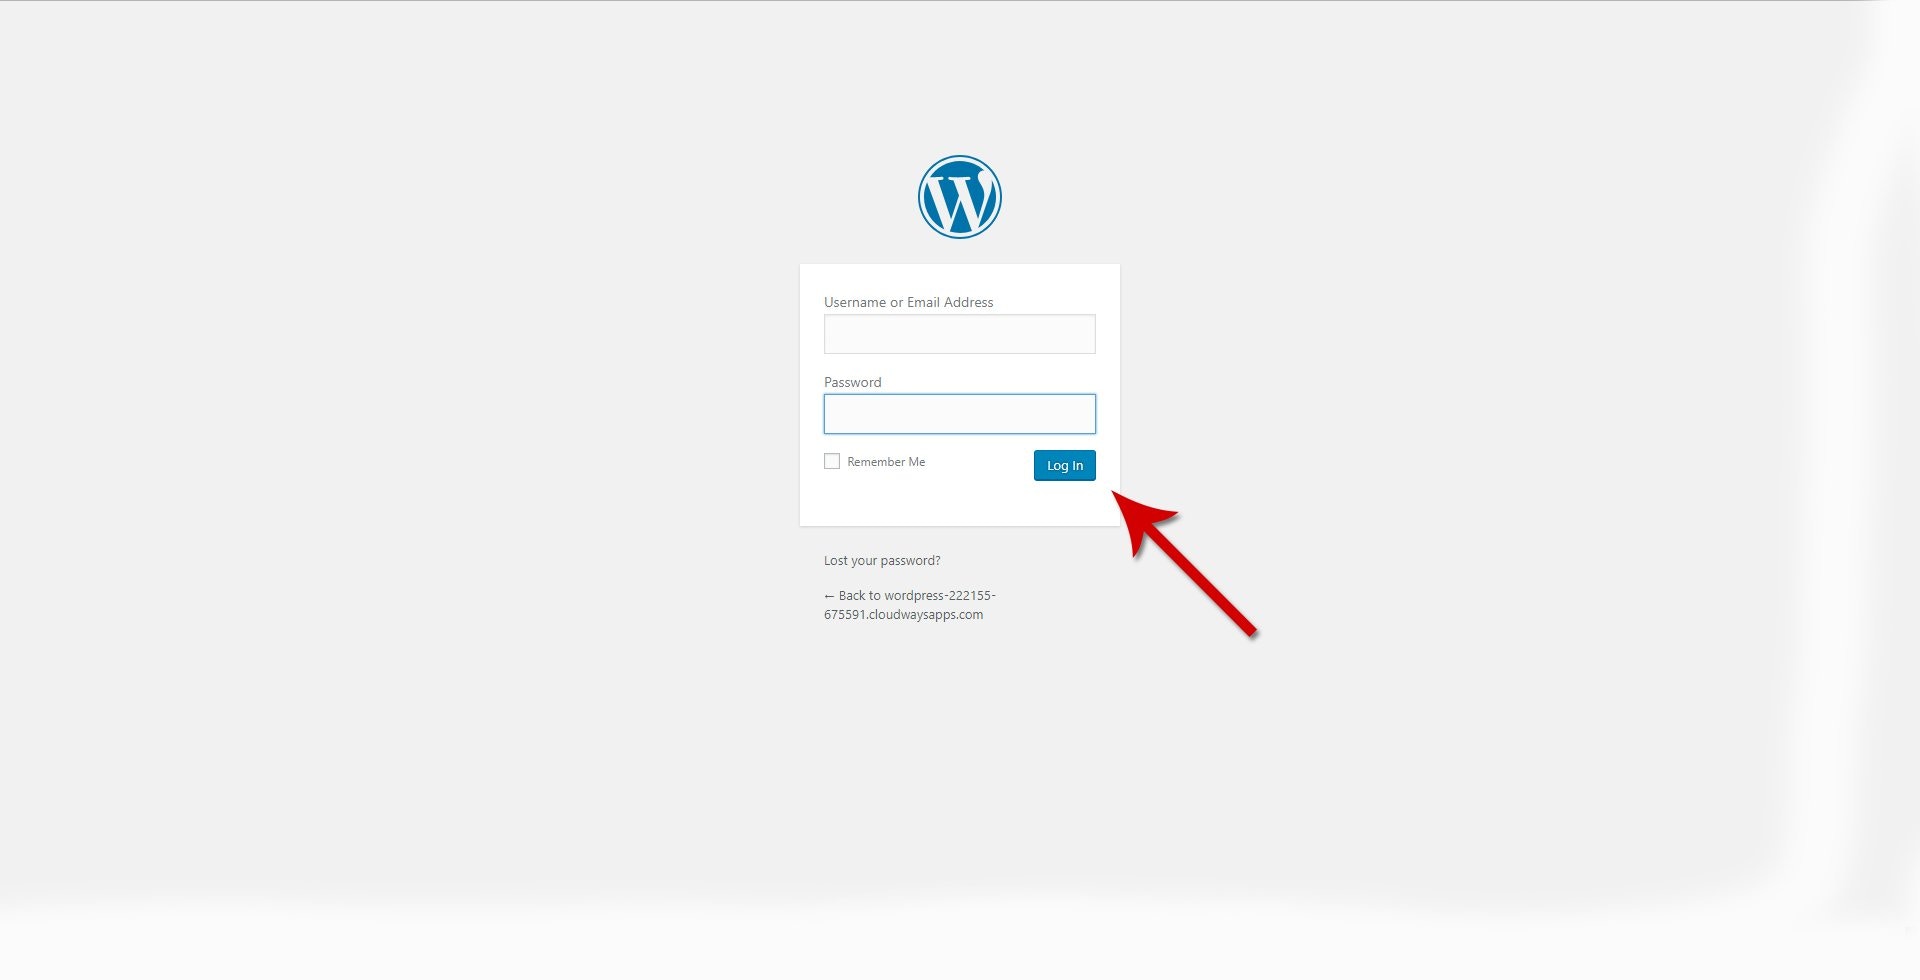
14
Start the Quick Setup Wizard
After logging in, the MainWP Quick Setup Wizard appears. Click Let’s Go.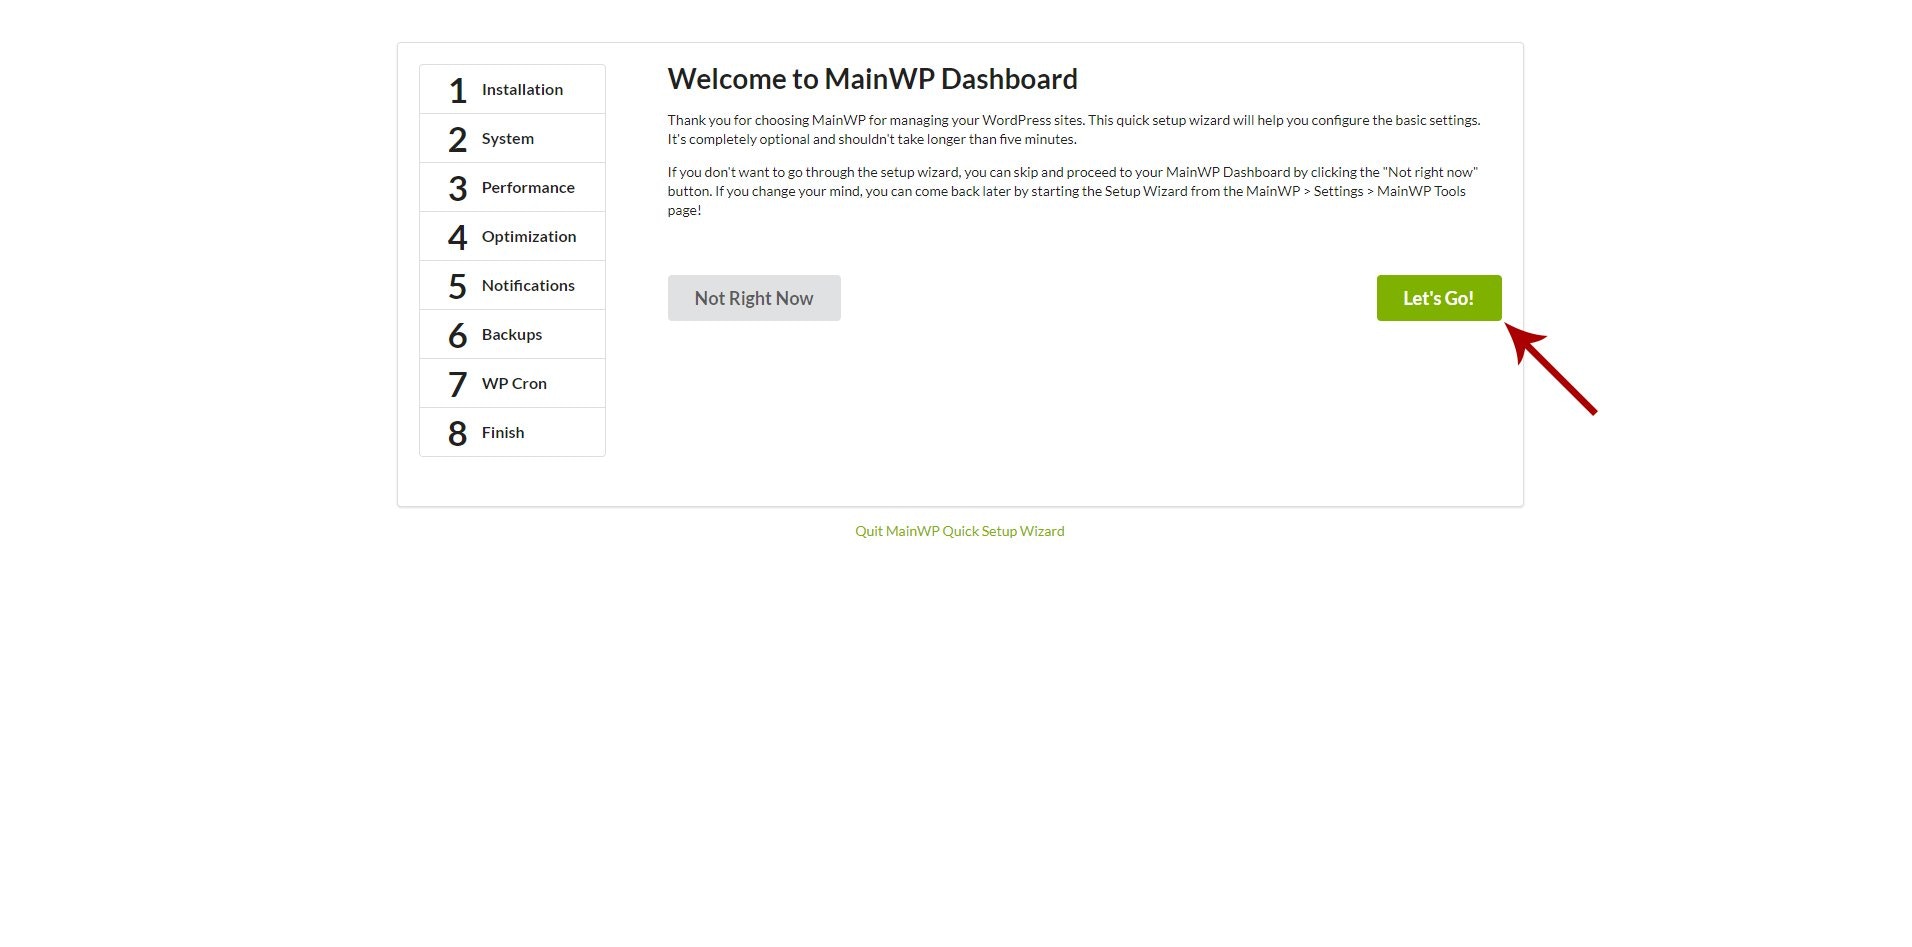
15
Select your installation type
On the Installation step, select Web host and click Continue.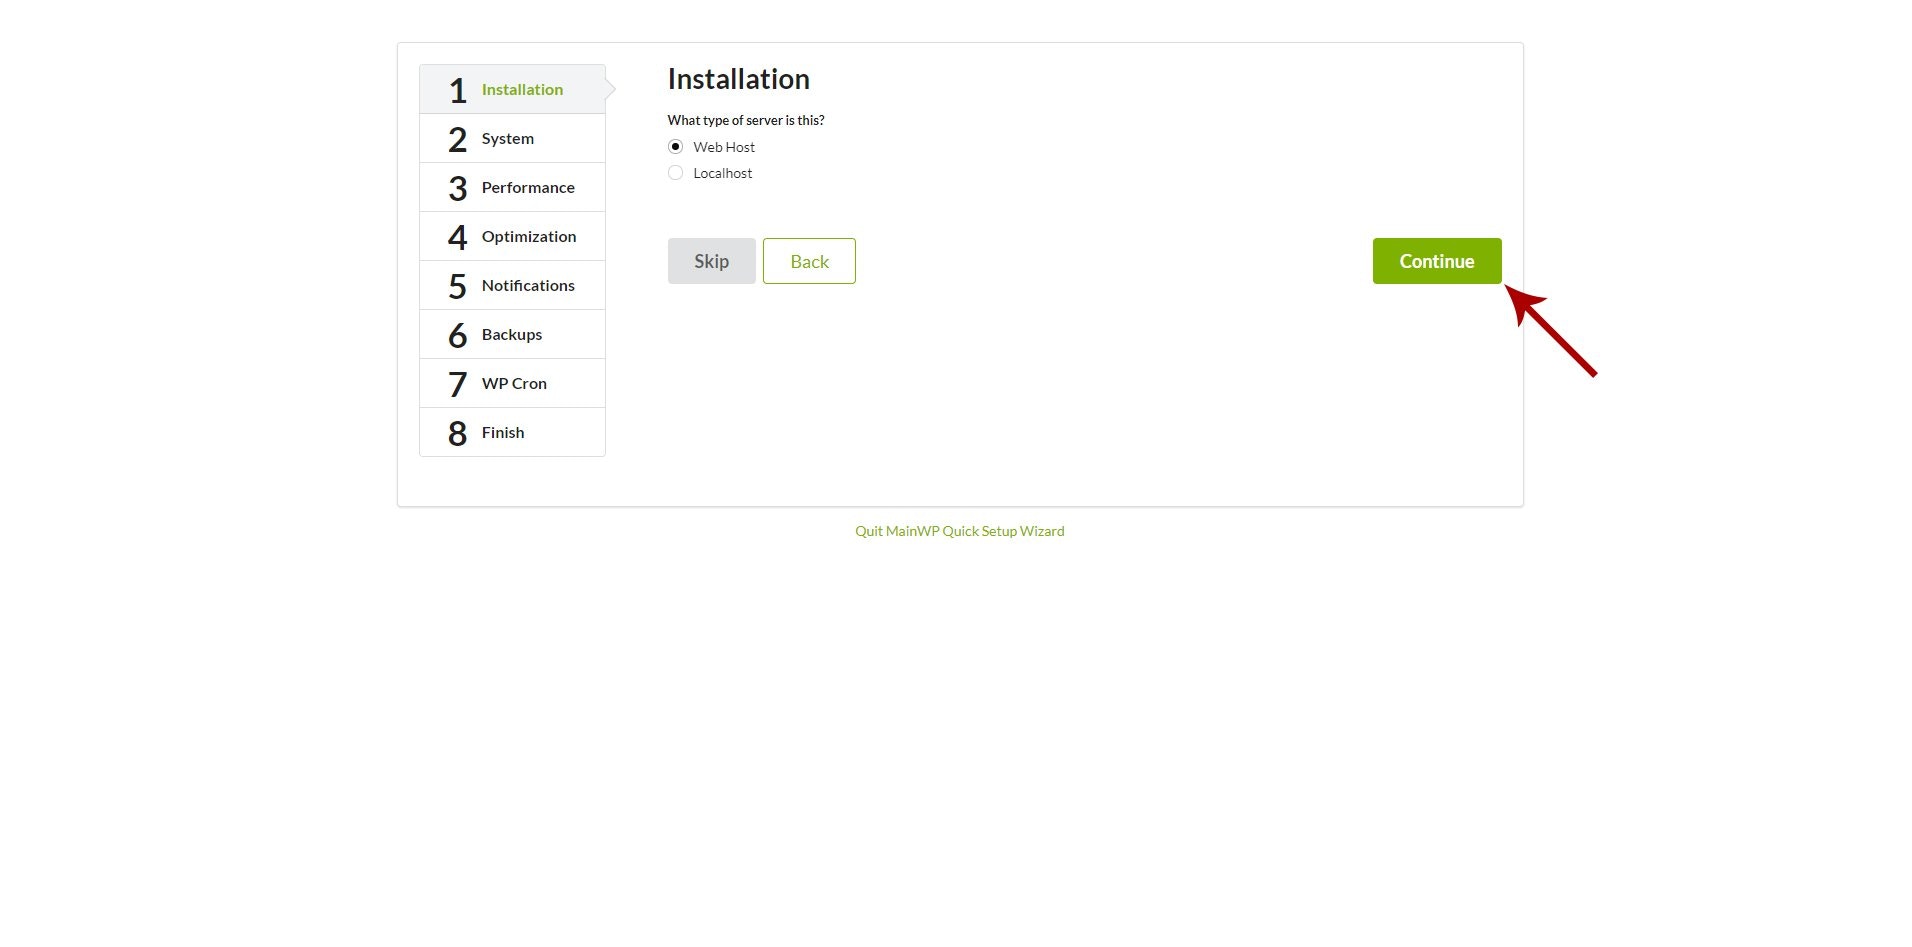
16
Verify system requirements
Review the system requirements check to confirm all requirements are met.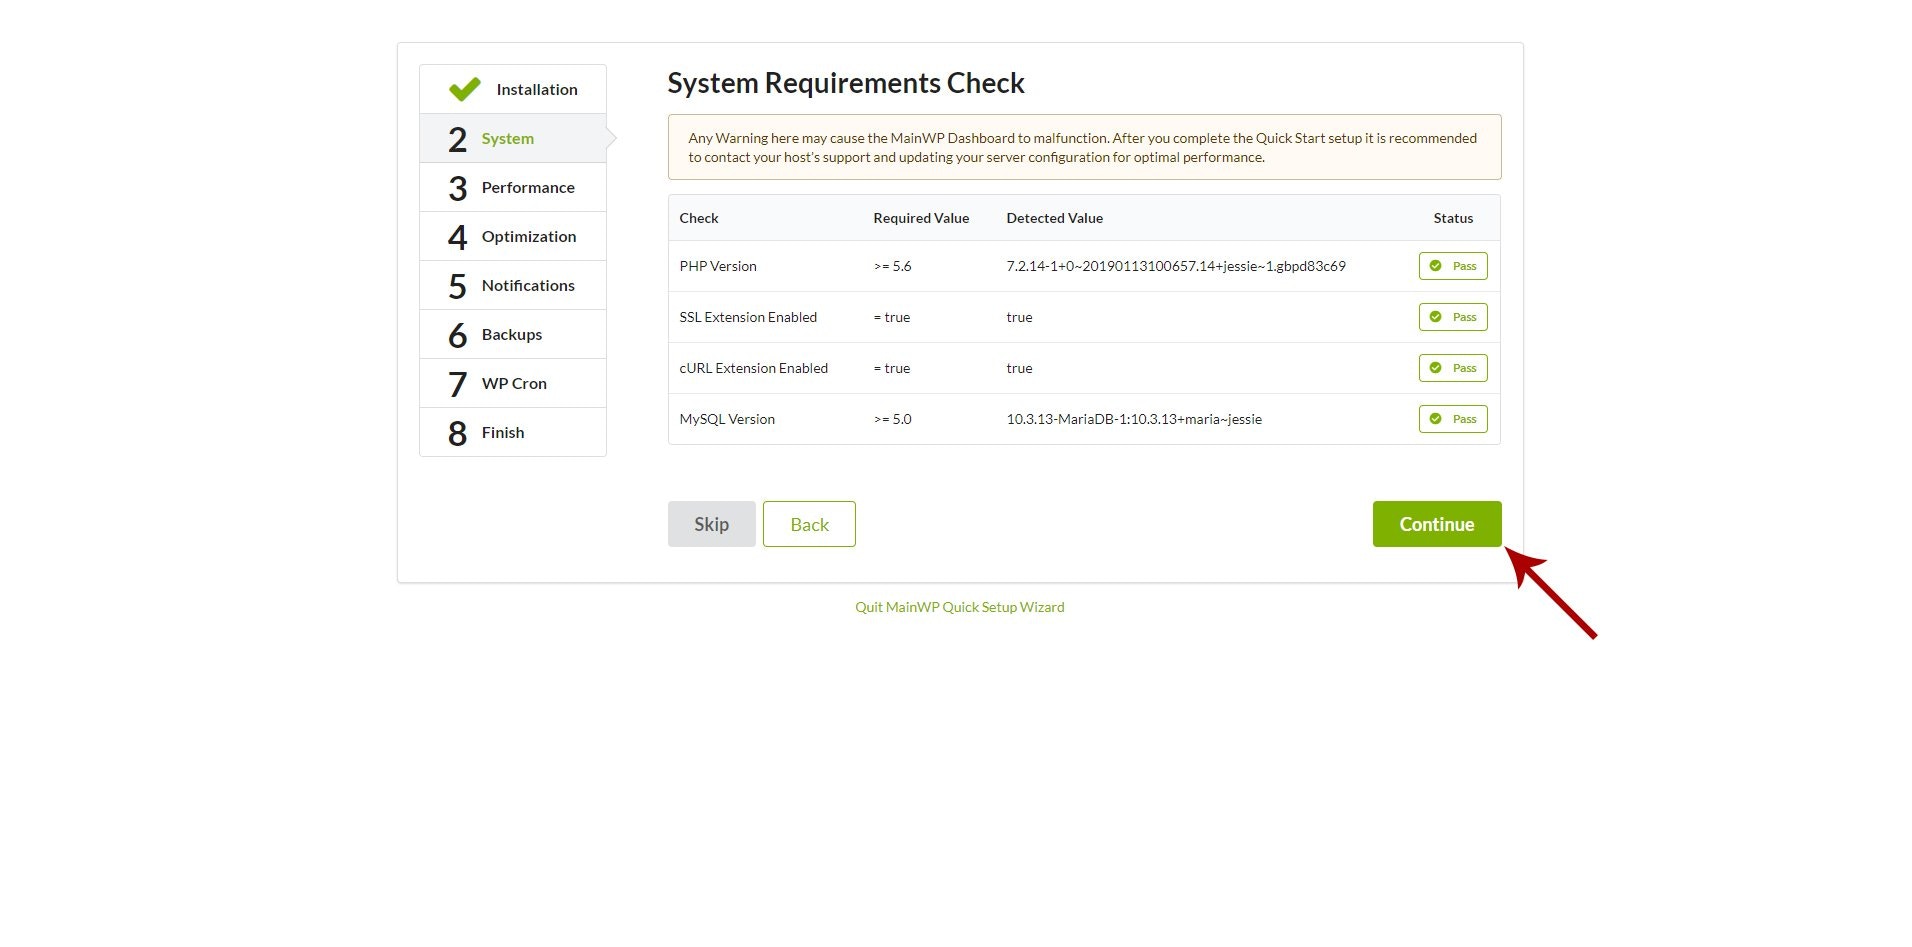
17
Complete the Quick Setup Wizard
Continue through the remaining wizard steps. For detailed guidance, see Get Started with MainWP.
18
Update MainWP Dashboard plugin
Go to WP Admin > Plugins and check if a MainWP Dashboard update is available. If so, update the plugin.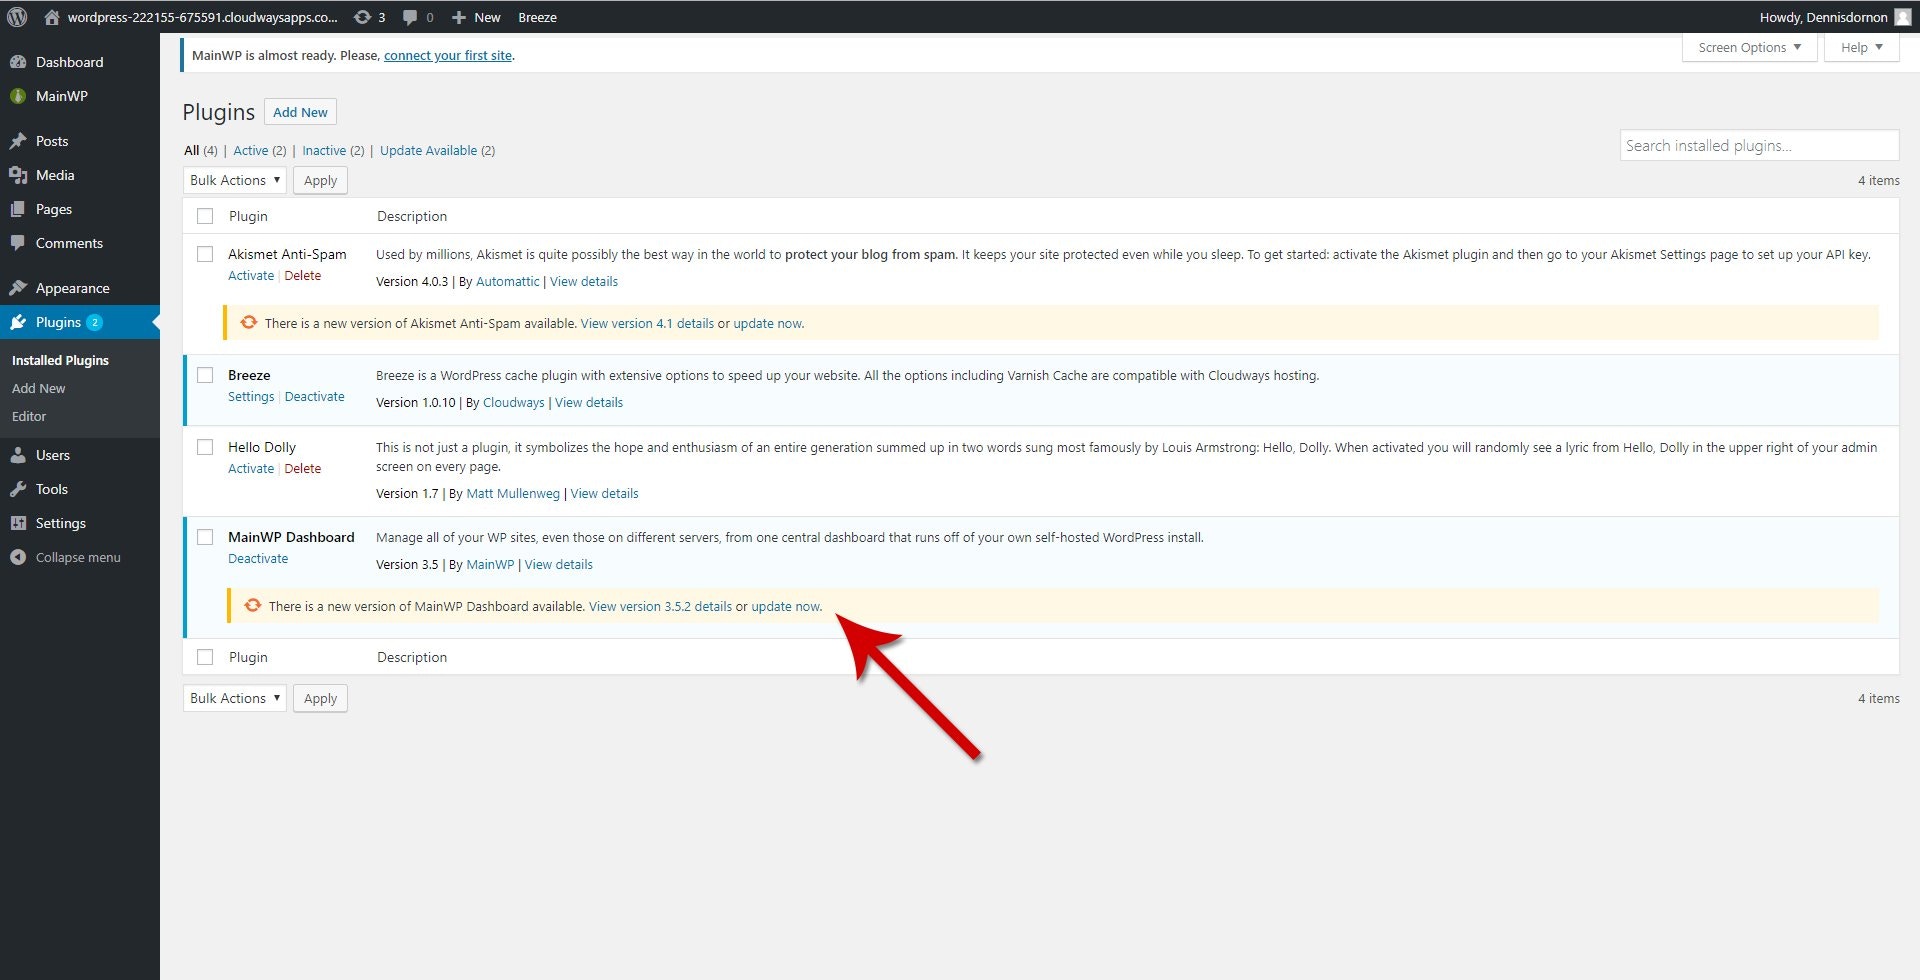
Migrating from Another Host
If you have an existing MainWP Dashboard on different hosting and want to migrate to Cloudways:- Export your child sites from your current Dashboard
- Set up your new MainWP Dashboard on Cloudways using the steps above
- Import your sites to the new Dashboard
Related Resources
- Get Started with MainWP - Complete Quick Setup Wizard guide
- Server fine-tuning for Cloudways - Performance optimization tips