> ## Documentation Index
> Fetch the complete documentation index at: https://docs.mainwp.com/llms.txt
> Use this file to discover all available pages before exploring further.
# How to customize MainWP Dashboard logo
> Customize the MainWP Dashboard logo using PHP code snippets in the free Custom Dashboard extension. Change the logo image, URL, and alt text for your branding.
Customize your MainWP Dashboard logo using PHP code snippets in the free Custom Dashboard extension. You can change the logo image, the URL it links to, and its alt text.
## What You'll Learn
* Replace the default MainWP logo with your own
* Change where the logo links to
* Update the logo alt text for accessibility
## Prerequisites
* MainWP Dashboard installed
* [Custom Dashboard extension](https://mainwp.com/extension/mainwp-custom-dashboard-extension/) installed (free)
* A logo image (recommended size: 50x50 pixels)
***
## Available Hooks
These hooks let you customize different aspects of the logo:
| Hook | Purpose |
| --------------------------------------------------------------------------- | ------------------------------ |
| [mainwp\_menu\_logo\_src](https://mainwp.dev/hooks/mainwp_menu_logo_src/) | Change the logo image |
| [mainwp\_menu\_logo\_href](https://mainwp.dev/hooks/mainwp_menu_logo_href/) | Change where the logo links to |
| [mainwp\_menu\_logo\_alt](https://mainwp.dev/hooks/mainwp_menu_logo_alt/) | Change the alt text |
***
## Change the Logo Image
[Install](/dashboard/overview/manage-extensions#install-extensions) the [Custom Dashboard](https://mainwp.com/extension/mainwp-custom-dashboard-extension/) extension.
Upload a 50x50px image to your WordPress Media Library or via FTP to your Dashboard site.
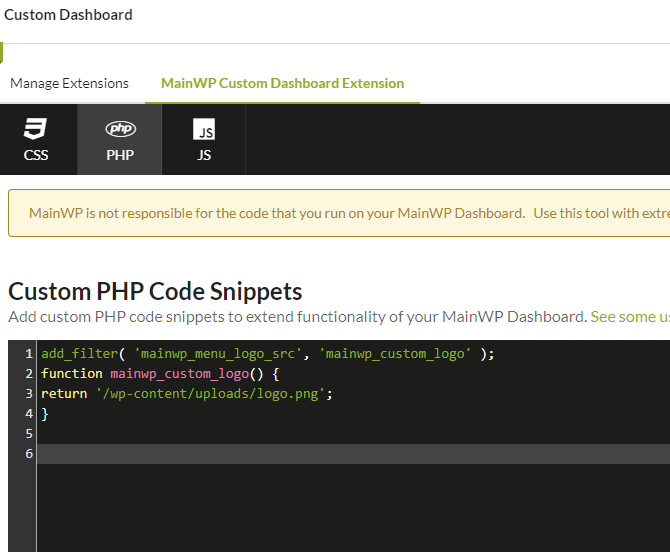
Navigate to the Custom Dashboard extension and add this snippet to the **PHP** tab:
```php theme={null}
add_filter( 'mainwp_menu_logo_src', 'mainwp_custom_logo' );
function mainwp_custom_logo() {
return '/wp-content/uploads/logo.png';
}
```
Change `/wp-content/uploads/logo.png` to your actual image location.
To verify the path works, temporarily use a full URL like `https://your-dashboard.com/wp-content/uploads/logo.png`. Once confirmed, switch back to the relative path.
Click **Save Changes**. The new logo appears immediately.
***
## Change the Logo Link URL
By default, the logo links to the MainWP Overview page. You can change this destination.
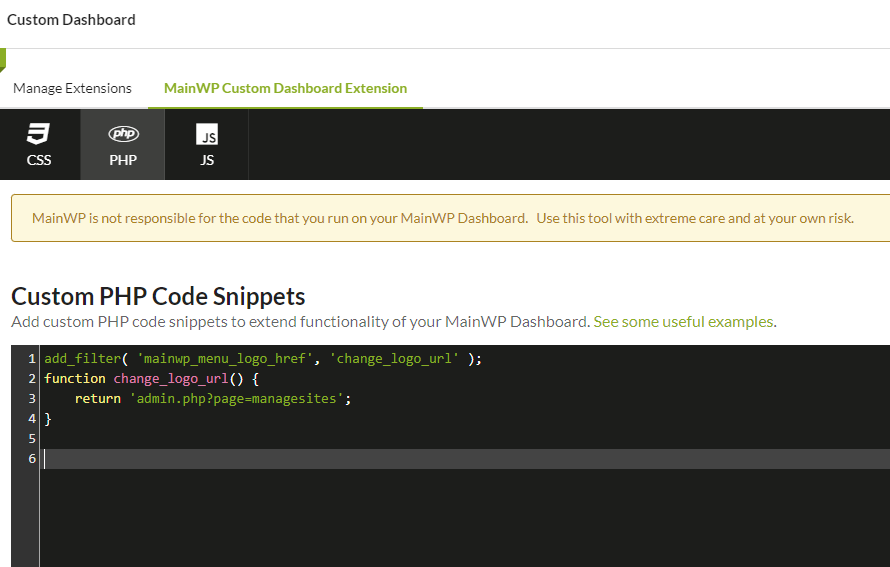
Navigate to the Custom Dashboard extension's **PHP** tab.
Add this snippet:
```php theme={null}
add_filter( 'mainwp_menu_logo_href', 'change_logo_url' );
function change_logo_url() {
return 'admin.php?page=managesites';
}
```
Change `admin.php?page=managesites` to your desired destination page.
Click **Save Changes**.
***
## Change the Logo Alt Text
Update the alt text for accessibility and SEO.
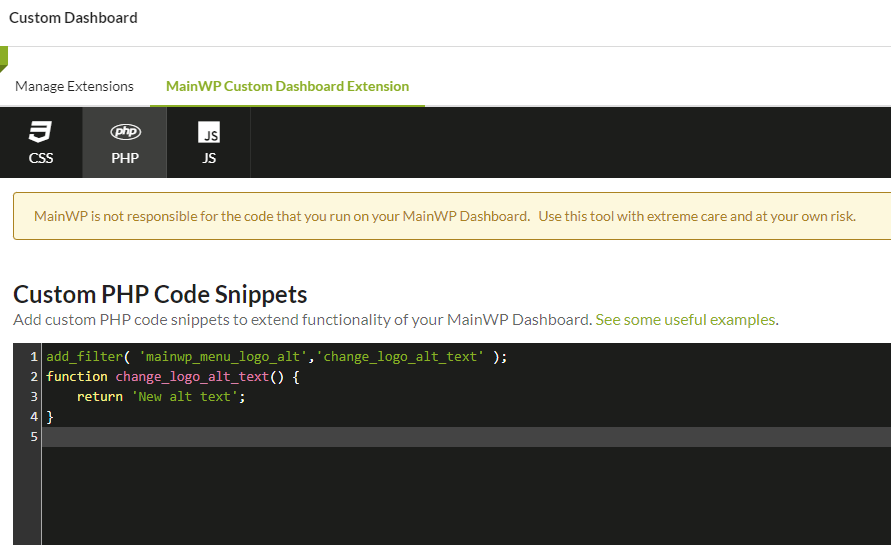
Navigate to the Custom Dashboard extension's **PHP** tab.
Add this snippet:
```php theme={null}
add_filter( 'mainwp_menu_logo_alt', 'change_logo_alt_text' );
function change_logo_alt_text() {
return 'Your Company Name Dashboard';
}
```
Change `Your Company Name Dashboard` to your desired alt text.
Click **Save Changes**.
***
## Self-Check Checklist
* [ ] Custom Dashboard extension installed and active
* [ ] Logo image uploaded to Dashboard site
* [ ] Code snippet added with correct path
* [ ] Changes saved
* [ ] New logo displaying correctly
***
## Related Resources
* [Custom Dashboard Extension](/add-ons/development/mainwp-custom-dashboard-extension) - Full extension documentation
* [Dashboard Themes](/customization/how-to-change-the-theme-for-mainwp) - Switch dashboard visual themes
* [White Label Extension](/add-ons/agency/white-label-extension) - Complete branding solution