> ## Documentation Index
> Fetch the complete documentation index at: https://docs.mainwp.com/llms.txt
> Use this file to discover all available pages before exploring further.
# Time Capsule
> Control WP Time Capsule Plugin settings, create incremental backups, and restore Child Sites to any point in time from your MainWP Dashboard. Supports Dropbox, Amazon S3, and Google Drive storage.
## What You'll Learn
* Installing the extension and WP Time Capsule plugin
* Connecting your WP Time Capsule account
* Creating manual and scheduled backups
* Restoring sites to specific restore points
* Creating staging sites
***
**Integration Add-on** - This add-on extends MainWP to work with WP Time Capsule. Requires WP Time Capsule to be installed on your child sites.
With the MainWP Time Capsule Extension, you can control the WP Time Capsule Plugin settings on all your child sites directly from your MainWP Dashboard. This includes giving you the ability to create your child site backups and even restore your child sites to a point back in time directly from your Dashboard.
All changes to your Child sites are backed up automatically as they happen. Any change on your website will trigger a backup in real-time. Since only the changes are backed up, the total space used for storing your backups is reduced to a minimum. The system allows you to store your backups in remote locations such as:
* Dropbox
* Amazon S3
* Google Drive
**Important Notes:** For additional help with the WP Time Capsule plugin options, please consult the official [WP Time Capsule plugin documentation](https://docs.wptimecapsule.com/).
## Install and Set the MainWP Time Capsule Extension
Installation of the MainWP Time Capsule Extension requires two important steps:
* Installing the Extension itself on your MainWP Dashboard site
* Installing the [WP Time Capsule](https://wordpress.org/plugins/wp-time-capsule/) plugin on Child Sites
### Installing the Extension
The MainWP Time Capsule Extension needs to be installed only on your MainWP Dashboard site. You can [install it as any other MainWP Extension.](/dashboard/overview/manage-extensions#install-extensions)
### Installing the Plugin
For the proper use of the MainWP Time Capsule Extension, you need to install the WP Time Capsule Plugin on your child sites.
### Install from MainWP Dashboard
[Select your child](/getting-started/mainwp-user-interface) sites
In the **Installation Options** box, make sure that the **Activate after installation option** is selected.
For additional help with installing WordPress plugins from the MainWP Dashboard, please review this [help document](/sites/plugins/managing-plugins-with-mainwp).
### Install directly on Child Site
For additional help with installing WordPress plugins, please review this [help document.](https://wordpress.org/documentation/article/manage-plugins/) **Important Notes:** After installing the WP Time Capsule plugin, it is required to Synchronize your sites so your MainWP Dashboard becomes aware that the plugin has been installed and activated.
## Get Started with the Time Capsule
After the successful installation of the MainWP Time Capsule Extension on your dashboard and the WP Time Capsule plugin on your child site, you are ready to connect your WP Time Capsule account. To do that,
Enter your **Email** and **Password**, then click **Login**.
Once that is done, connect a **Cloud Storage Account** for the child site. This step is completed on the child site itself. To do it,
After that, the site is ready for backup and staging actions from your MainWP Dashboard.
## Backup Your Child Sites
The Time Capsule system will allow you to backup your sites on demand and to set automated backups.
### Manual Backup
To manually backup all your sites,
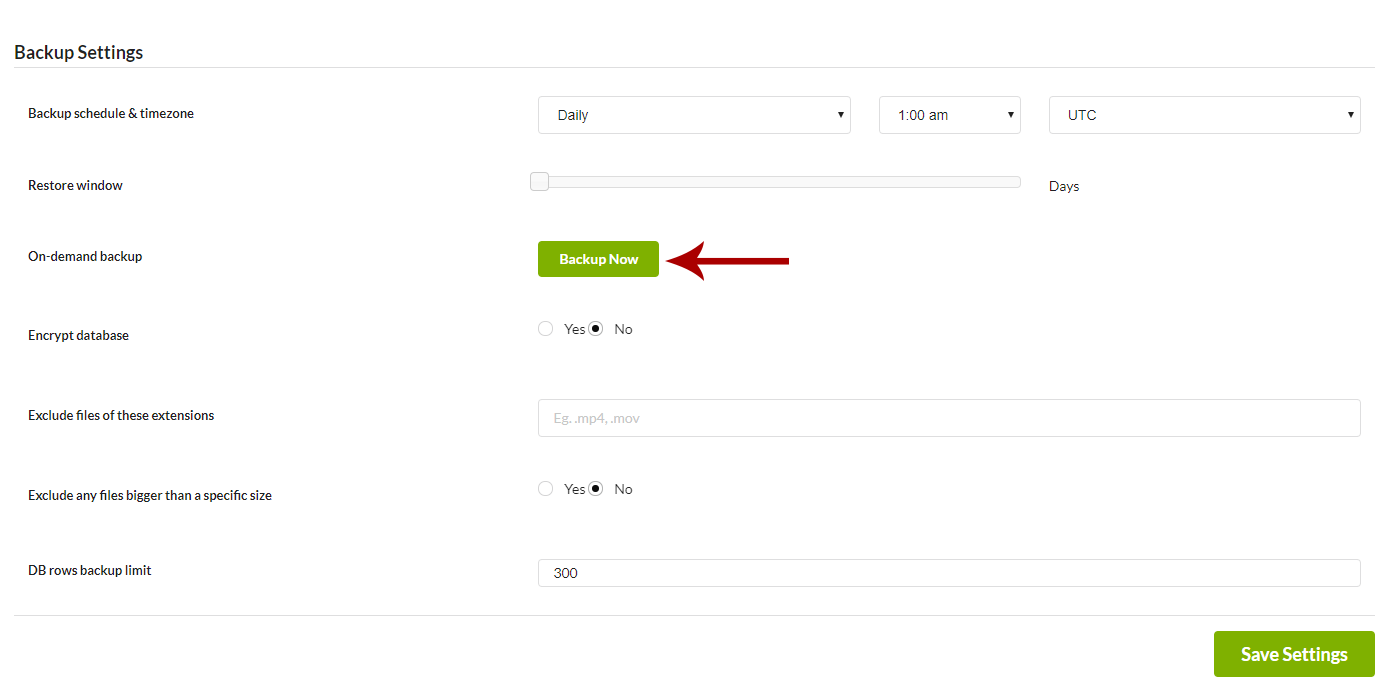 To manually backup a single site,
### Schedule Backups
To schedule backups,
## Restore a Site To a Restore Point
To restore your child site to a restore point,
Locate the **Restore Point** that you want to restore your site to and click on it
To manually backup a single site,
### Schedule Backups
To schedule backups,
## Restore a Site To a Restore Point
To restore your child site to a restore point,
Locate the **Restore Point** that you want to restore your site to and click on it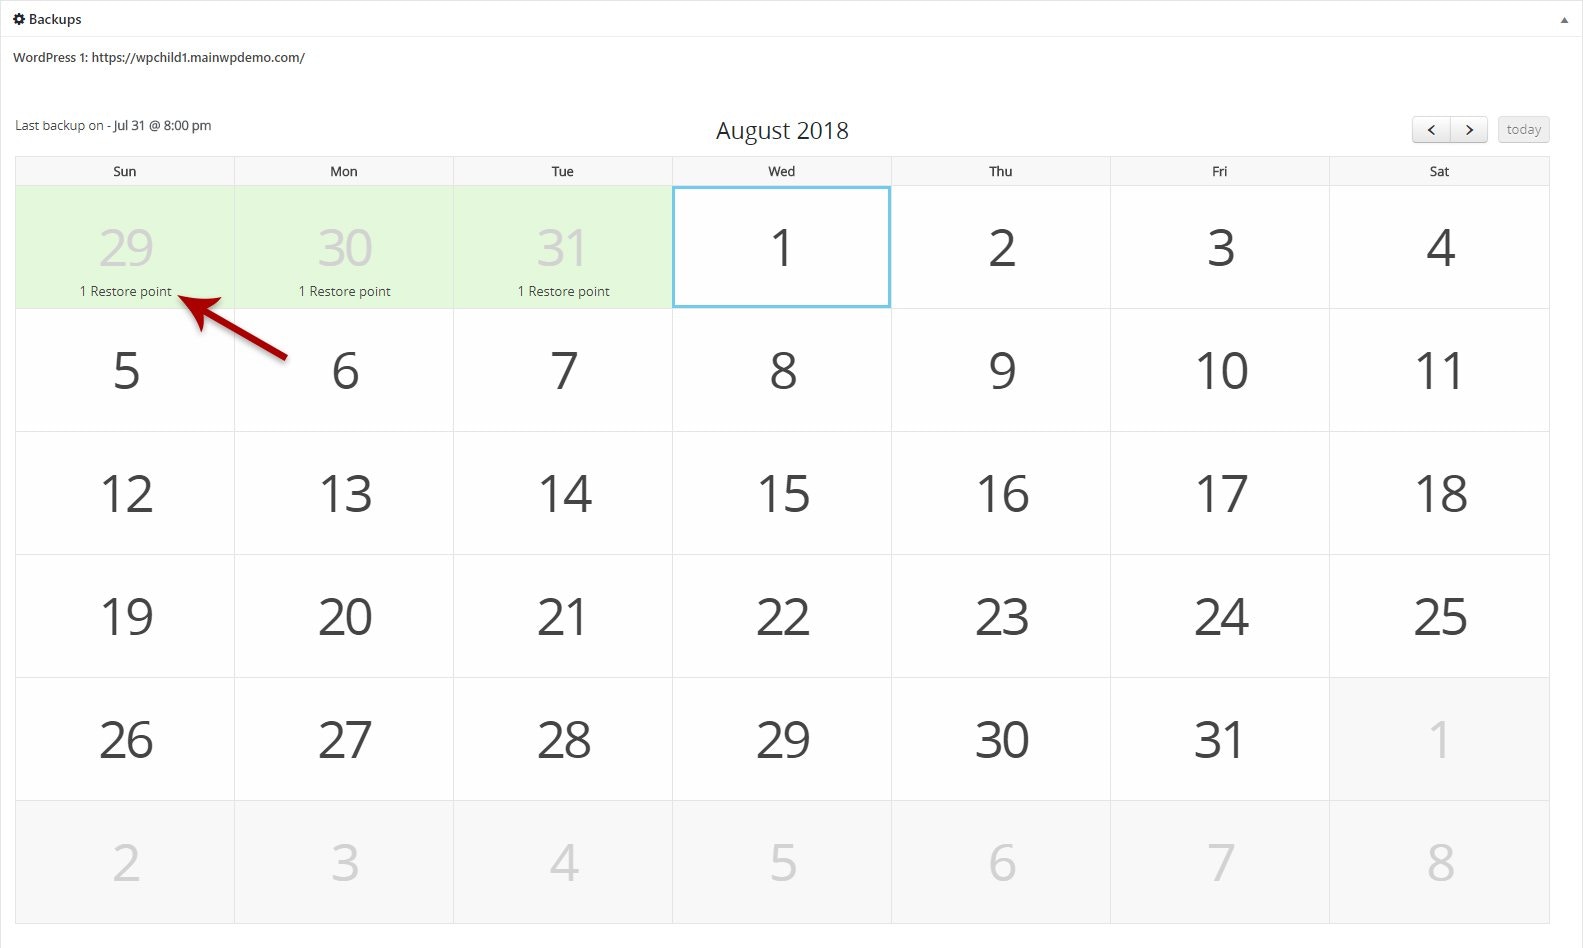 Choose your restore preferences and click the **Restore The Site to This Point** button
 You will be redirected to a new screen where further instructions will be provided.
## Create Staging Site With the Time Capsule
The Time Capsule system provides the ability to create staging sites. To create a staging site,
***
## Related Resources
* [Backup Add-ons](/add-ons/backups) - Browse all backup integrations
* [Manage Backups](/sites/backups/manage-backups) - Understanding backup management in MainWP
* [WP Time Capsule Documentation](https://docs.wptimecapsule.com/) - Official plugin documentation
You will be redirected to a new screen where further instructions will be provided.
## Create Staging Site With the Time Capsule
The Time Capsule system provides the ability to create staging sites. To create a staging site,
***
## Related Resources
* [Backup Add-ons](/add-ons/backups) - Browse all backup integrations
* [Manage Backups](/sites/backups/manage-backups) - Understanding backup management in MainWP
* [WP Time Capsule Documentation](https://docs.wptimecapsule.com/) - Official plugin documentation