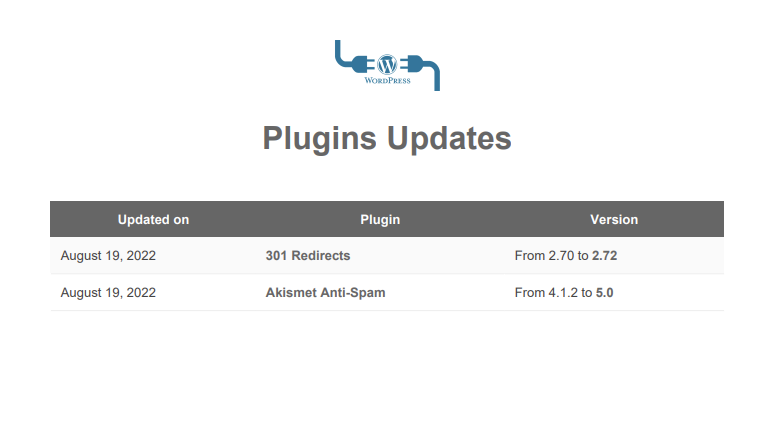
> ## Documentation Index
> Fetch the complete documentation index at: https://docs.mainwp.com/llms.txt
> Use this file to discover all available pages before exploring further.
# How to add images to custom Pro Report templates
> Learn how to add images to existing custom Pro Report templates. This guide covers adding your logo and other images to customize the visual appearance of your professional reports.
## What You'll Learn
* Uploading images to your MainWP Dashboard
* Locating custom report template files
* Adding image HTML code to PHP templates
* Testing and verifying image placement
***
**Extension Add-on** - This add-on provides standalone functionality within MainWP Dashboard. No third-party plugins required.
In this help document, we will cover adding images to existing custom Pro Report templates. For information on creating custom Pro Report templates, please refer to this document: [Pro Reports Extension Overview](/add-ons/agency/pro-reports-extension-overview)
Upload the images to your MainWP Dashboard via FTP or similar methods, and note their URLs
Navigate to the directory where the custom templates are stored: **/wp-content/uploads/mainwp/report-templates/**
Download the desired PHP file to your PC and open it in your favorite text editor
Locate the line and add the following above it:
```html theme={null}
```
Replace the *[https://mainwpvideos.com/wp-content/uploads/plugins.png](https://mainwpvideos.com/wp-content/uploads/plugins.png)* with the URL of your image
Save the PHP file and upload it back to the server to the same directory: **/wp-content/uploads/mainwp/report-templates/**
Test the changes and repeat the process for other desired locations
***
## Related Resources
* [Create Custom Report Templates](/add-ons/agency/create-custom-report-templates) - Build custom PHP templates
* [Pro Reports Extension](/add-ons/agency/pro-reports-extension-overview) - Main Pro Reports documentation
* [Available Pro Reports Tokens](/add-ons/agency/available-pro-reports-tokens) - Complete token reference